 Fly Tying Inventory
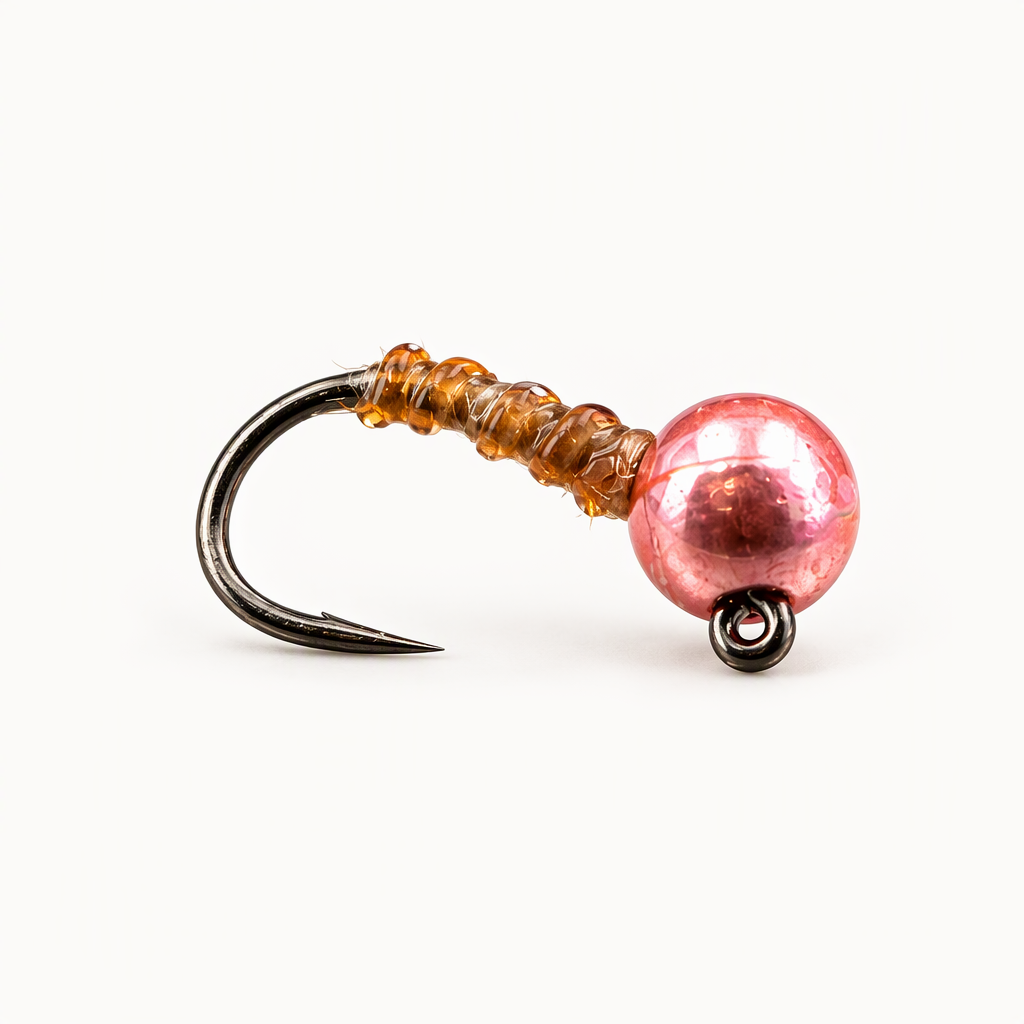
Bomb-Drop Midge Larva
Bomb-Drop Midge Larva is Curtis Fry's simple midge larva, made to look more realistic while still getting down fast. Fish it on its own on a Euro rig or as a dropper on a dry dropper rig for trout. It works through the year, and you can change the color to match the midges in your area. Hareline's Midge Stretch Rib is the key material, giving a ribbed effect on small hooks without much bulk. Tied here on a size 22 hook.
Ready to tie this?
This pattern needs 5 materials. Sign up free to check which ones you already own.
Materials
Fulling Mill FM5125 Jig Force Short Barbless hook, size 22 (or Umpqua XC210BL-BN Perdi-Jig Hook, size 20)
22
Semperfli Classic Waxed Thread 12/0, beige (or UTC Ultrathread 70 Denier, tan)
Beige · 12/0
Fulling Mill Slotted Tungsten Beads, metallic light pink, 2.8 mm (or Hanak Metallic+ Slotted Tungsten Beads, light pink, 3.0mm)
Metallic Light Pink · 2.8mm
Loon Fluorescing UV Clear Fly Finish, to coat the body
How to Tie the Bomb-Drop Midge Larva
- 1
Step 1
Slide the pink bead onto the jig hook and mount the hook in the vise.
- 2
Step 2
Start the beige thread behind the bead and trim the tag.
- 3
Step 3
Tie in the Midge Stretch Rib behind the bead and bind it along the shank to the bend, leaving the long end trailing off the back of the hook.
- 4
Step 4
Wrap the thread back to the bead in smooth layers to form a slim, tapered underbody.
- 5
Step 5
Wrap the rib forward in close, even turns to the bead, so the turns stand out as ridges. Tie it off and trim the excess.
- 6
Step 6
Whip finish behind the bead and cut the thread.
- 7
Step 7
Coat the body with a thin layer of Loon Fluorescing UV Clear Fly Finish and cure it with a UV light.
- 8
Step 8
Add further thin coats, curing each one, keeping the ribbed segments in view.
Watch Tying Tutorial
https://www.youtube.com/watch?v=1-6lwPP_ujg
Credit: Curtis Fry / Fly Fish Food