 Fly Tying Inventory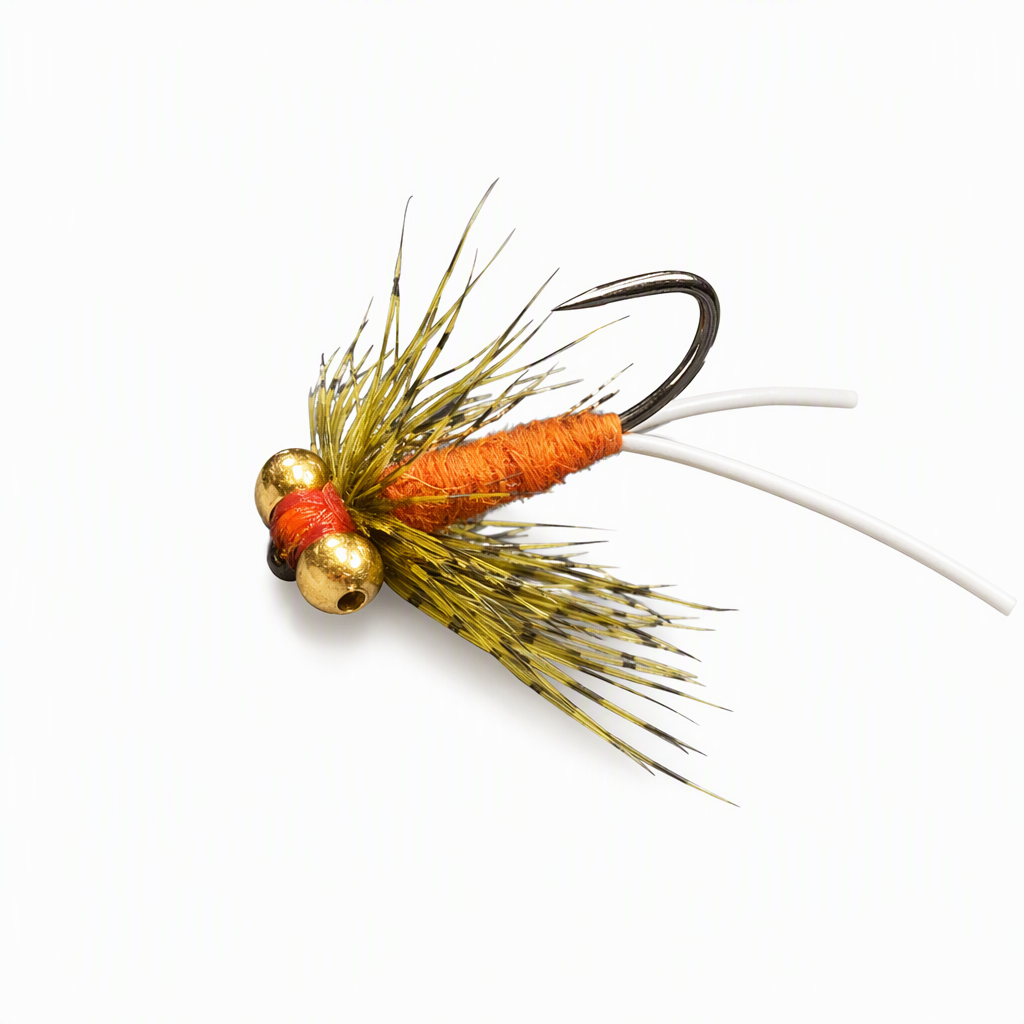
Carp Carrot
Jim Pankiewicz, the Seattle carp angler known as Mr. P, first tied the Carp Carrot in 2005 by pairing an orange body with a yellow-dyed pheasant rump hackle. It is a general food-item fly rather than an exact imitation, and it is especially good for carp feeding on clams or in slightly coloured water. Pick the eye weight to suit the depth and current, set it in front of a feeding fish, and let it sit or give it small strips.
🪶 Ready to tie this?
This pattern needs 7 materials. Sign up free to check which ones you already own.
Materials
Kamasan B175 heavy wet-fly hook, size 4-10
4-10
Bead chain or dumbbell eyes, sized to the depth you are fishing
White round rubber legs, a few strands
White
Orange or rusty orange dubbing
Orange
Gold wire or fine gold oval tinsel
Gold
Ringneck pheasant rump feather dyed yellow
Yellow
How to Tie the Carp Carrot
- 1
Step 1
Start the thread behind the eye and tie the bead chain or dumbbell eyes on top of the shank, leaving a small gap behind the hook eye for the head. Secure them with firm figure-eight wraps.
Choose the eye weight for the water: bead chain for shallow, still flats, small dumbbells for deeper water or current.
- 2
Step 2
Run the thread back to the bend and tie in a few strands of white round rubber as a short tail, trimming the strands to an even length.
- 3
Step 3
At the same point, tie in a length of gold wire or oval tinsel for the rib.
- 4
Step 4
Dub a carrot-shaped orange body from the bend forward, building it slightly thicker toward the front and stopping just short of the eyes to leave room for the hackle.
- 5
Step 5
Spiral the rib forward through the body in open, evenly spaced turns, tie it off behind the eyes and trim.
- 6
Step 6
Tie in a yellow pheasant rump feather by its tip just behind the eyes, take two or three turns while sweeping the fibres back, then tie off and trim.
Rump feathers are long and soft; two turns is usually enough for a sparse, mobile collar.
- 7
Step 7
Bring the thread through to the front of the eyes, build a small head, whip finish and cement.
Watch Tying Tutorial
https://www.youtube.com/watch?v=uXIqgxyfZNs
Credit: Martyn White