 Fly Tying Inventory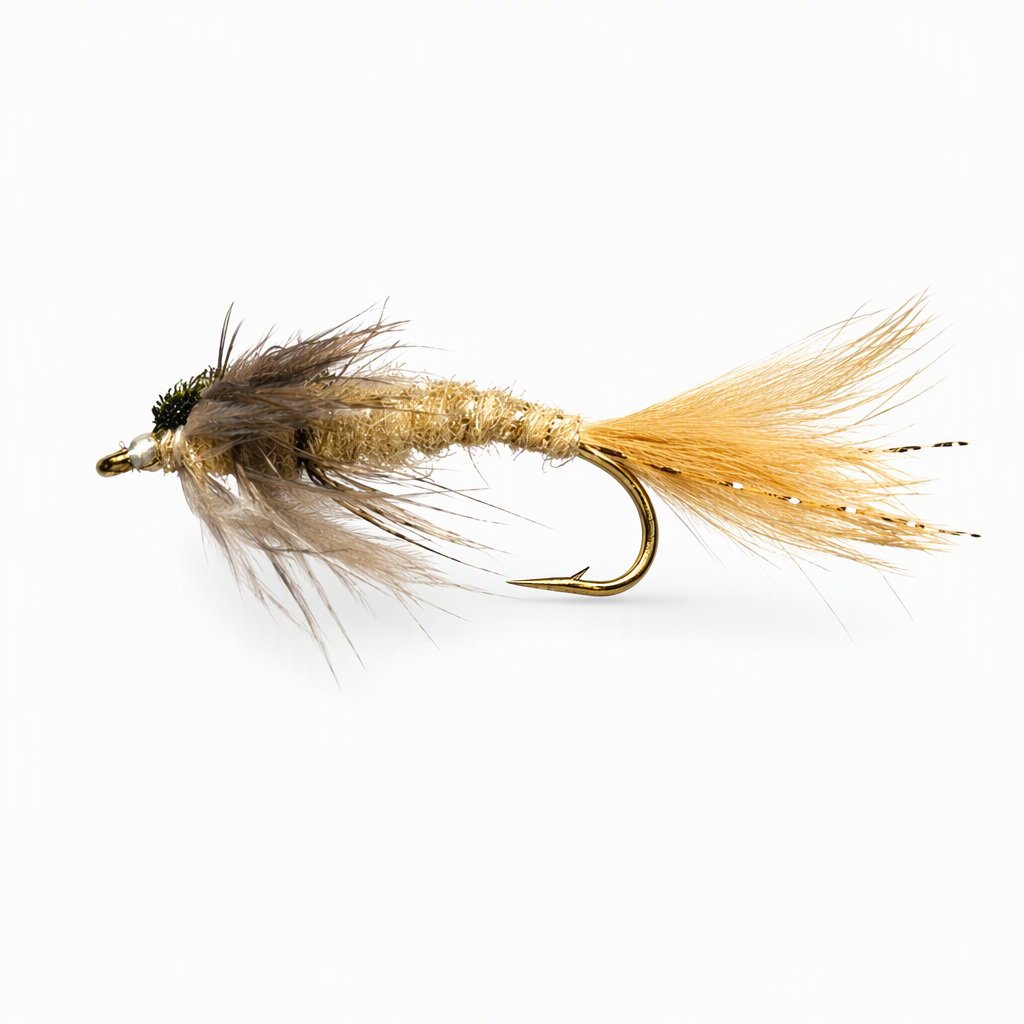
Clouser Swimming Nymph
Bob Clouser created the Swimming Nymph for the smallmouth bass of Pennsylvania's Susquehanna River, and carp anglers have since adopted it as a go-to fly for wary fish on shallow flats. A soft rabbit tail, a dubbed body with a peacock herl back and hen legs give it the look of a swimming nymph or small crayfish. Lightly weighted with fine lead, it settles slowly in front of a carp without a heavy splash and also takes trout and smallmouth.
🪶 Ready to tie this?
This pattern needs 9 materials. Sign up free to check which ones you already own.
Materials
Tiemco TMC 200R curved nymph hook, size 8-12
8-12
Lead wire, .010-.015 in
.010-.015 in
Tan rabbit fur, a clump
Tan
Tan Clouser Swimming Nymph SLF dubbing
Tan
Small gold tinsel
Gold · Small
Peacock herl, several strands
Natural
How to Tie the Clouser Swimming Nymph
- 1
Step 1
Wrap a short section of .010-.015 lead wire on the front half of the shank, leaving room behind the eye. Start the thread and build small thread ramps at both ends of the lead to lock it in place.
Keep the weight light for carp: the fly should sink slowly and land softly near spooky fish.
- 2
Step 2
At the bend, tie in a clump of tan rabbit fur as a tail about as long as the hook shank, then add a few strands of copper or gold Krystal Flash along each side.
- 3
Step 3
Tie in the gold tinsel at the bend for the rib.
- 4
Step 4
Dub a tapered tan abdomen over the rear half of the shank, then wind the tinsel forward in open turns, tie it off and trim.
- 5
Step 5
At the front of the abdomen, tie in several strands of peacock herl pointing back for the wing case, and tie in an India hen back feather by its tip.
- 6
Step 6
Dub a fuller thorax forward to just behind the hook eye.
- 7
Step 7
Wind the hen feather forward through the thorax in two or three turns, tie it off and trim. Pull the fibres down and to the sides so they sit as legs.
- 8
Step 8
Bring the peacock herl forward over the top of the thorax as a wing case, tie it down behind the eye and trim.
Twisting the herl strands together lightly before pulling them over makes the wing case tougher.
- 9
Step 9
Form a small head, whip finish and add head cement.
Watch Tying Tutorial
https://www.youtube.com/watch?v=WXv4vQNgfpo
Credit: InTheRiffle