 Fly Tying Inventory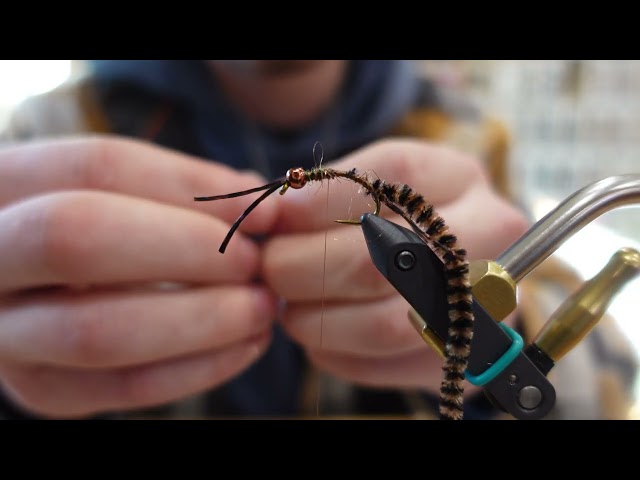
Curved Shank Pat's Rubber Leg
Red's Fly Shop's refined version of the legendary Pat's Rubber Legs stonefly nymph, tied on a curved-shank hook with perfectly symmetrical rubber legs. Hayden Williams demonstrates the technique for tying legs that splay evenly and naturally, a detail that separates guide-quality flies from quick-tied versions. The curved shank creates a subtly different profile that can make all the difference on pressured waters where trout have seen thousands of standard versions.
🪶 Ready to tie this?
This pattern needs 7 materials. Sign up free to check which ones you already own.
Materials
Curved shank nymph hook (TMC 200R or similar), sizes 4-10
Brown or black 6/0 (140 denier)
Lead-free wire, .020 diameter, 15-20 wraps
Variegated brown/black chenille or Ultra Chenille
Barred brown or black rubber legs, medium
Copper or brown Ultra Wire, medium
Brown or black rubber leg material, short
How to Tie the Curved Shank Pat's Rubber Leg
- 1
Step 1
Mount the curved shank hook and wrap lead-free wire along the shank for weight, leaving room at the head and tail. Secure with thread wraps.
The curved shank creates a more natural stonefly silhouette than straight-shank versions.
- 2
Step 2
Tie in two short pieces of rubber leg material as tail antennae at the bend, extending about half the shank length.
- 3
Step 3
Tie in the wire rib and chenille at the bend.
- 4
Step 4
Wrap chenille forward about 1/3 of the shank. Tie in the first pair of rubber legs using a cross-wrap technique to ensure they splay symmetrically.
Cross-wrapping the legs with an X of thread locks them in position and ensures even, symmetrical splay.
- 5
Step 5
Continue wrapping chenille forward another 1/3. Tie in the second pair of rubber legs using the same symmetrical technique.
- 6
Step 6
Wrap chenille to just behind the eye, building a slightly larger thorax. Tie off and trim.
- 7
Step 7
Counter-wrap the wire rib forward through the entire body for durability. Tie off. Add short rubber leg antennae at the head if desired. Whip finish and cement.
Watch Tying Tutorial
https://www.youtube.com/watch?v=mEtGgGdfMS8
Credit: Red's Fly Shop