 Fly Tying Inventory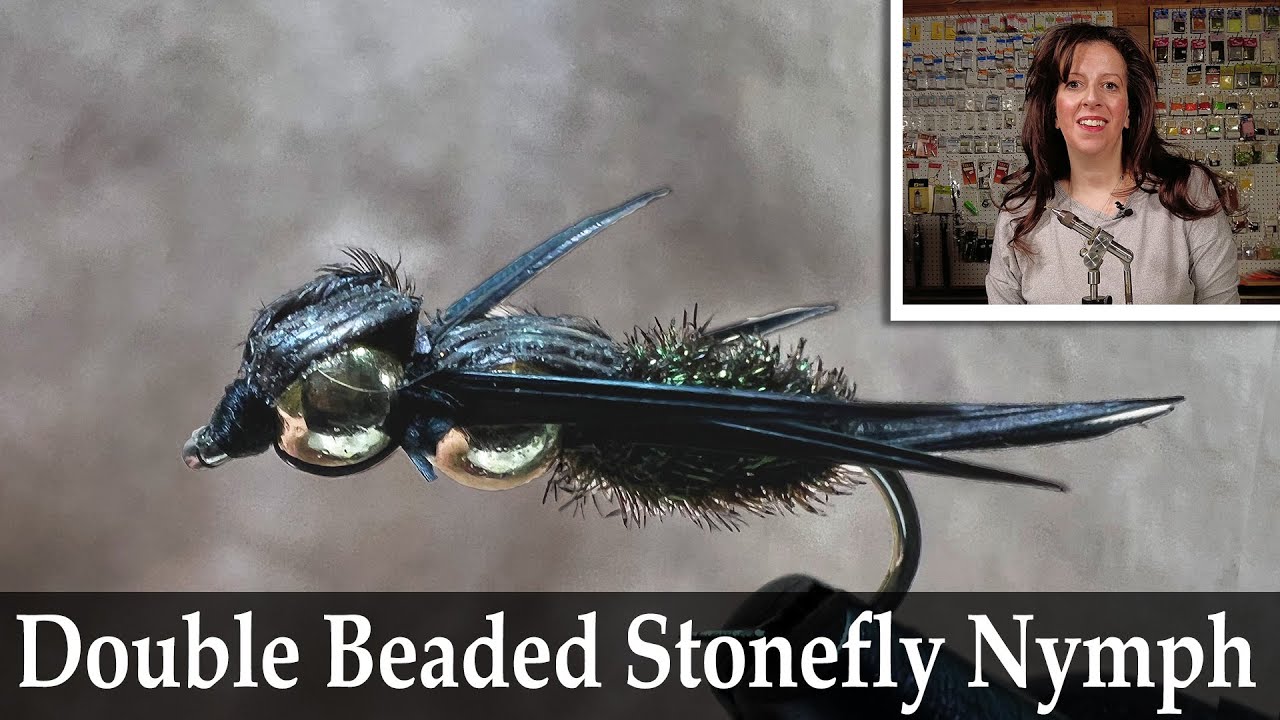
Double Bead Stone Nymph
A heavy, realistic stonefly nymph featuring two beads for extra weight and a split-bead thorax appearance. Uses goose biots for tails and legs, a dubbed body, and mottled turkey wingcase. Excels in fast, deep water where quick sink rates are essential for reaching bottom-feeding trout.
🪶 Ready to tie this?
This pattern needs 9 materials. Sign up free to check which ones you already own.
Materials
3XL curved nymph hook (TMC 200R), size 8-12
Two tungsten or brass beads, 5/32" or 1/8", gold or copper
Brown or black 6/0
Brown goose or turkey biots, two, splayed
Golden-brown or olive fur dubbing or synthetic dubbing
Mottled oak turkey quill, sprayed with clear acrylic for durability
Goose or turkey biots, two or three pairs, matched to tail color
Same dubbing as abdomen, built up for bulk
How to Tie the Double Bead Stone Nymph
- 1
Step 1
Slide two beads onto the hook. Secure the hook in the vise and push both beads to the front. Start thread behind the beads.
- 2
Step 2
Tie in two goose biots at the bend of the hook, splayed outward for the tail.
- 3
Step 3
If using rib, tie in the V-Rib or copper wire at the tail base.
- 4
Step 4
Dub the abdomen forward toward the beads, creating a tapered body.
Pre-spray mottled turkey quill sections with clear acrylic before tying to dramatically improve wingcase durability.
- 5
Step 5
Wrap the rib forward if used. Tie off between the abdomen and beads.
- 6
Step 6
Tie in a slip of treated turkey quill for the wingcase.
- 7
Step 7
Add biot legs in two or three sets along the thorax area. Dub the thorax around and between the beads.
- 8
Step 8
Pull the wingcase turkey forward over the thorax, tie down behind the front bead.
- 9
Step 9
Whip finish behind the front bead and apply head cement to the thread wraps.
Watch Tying Tutorial
https://www.youtube.com/watch?v=g9V2VCrw708
Credit: Traditional / Dandy Reiner