 Fly Tying Inventory
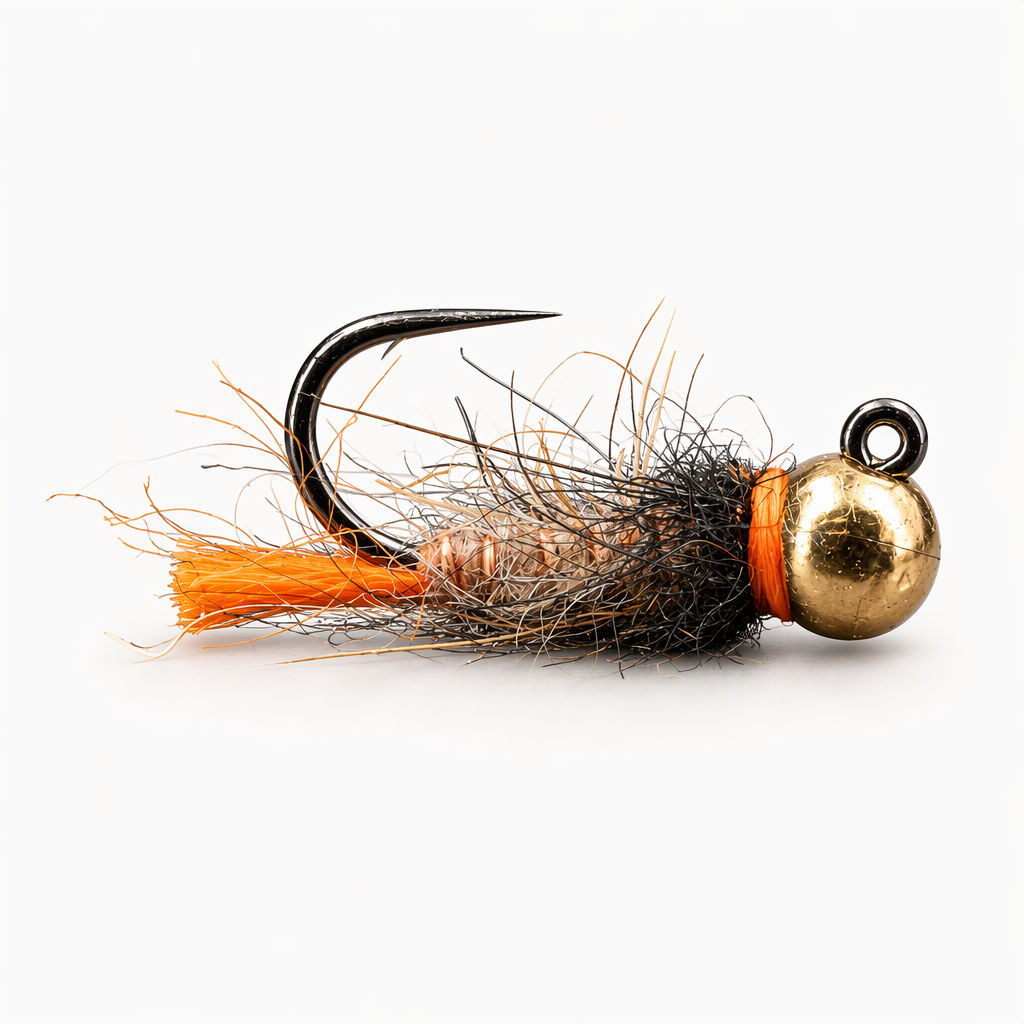
Dread Tag Jig
Dread Tag Jig is a fast jig nymph tied by Cheech, and it is as much a lesson in useful techniques as it is a fly for the box. The body is a length of hare's ear Rabbit Dreads, a dubbing rope that comes already made. The tag is built from the tying thread itself, so it always matches the color of the whip finish at the head. A copper wire rib and a black squirrel collar complete this Euro nymph. Tied here on a size 12 hook.
Ready to tie this?
This pattern needs 6 materials. Sign up free to check which ones you already own.
Materials
Veevus Power Thread 70 Denier, fl. orange #137, also used for the tag
Fl. Orange · 70 denier
Hareline Slotted Tungsten Beads - Classic Colors, copper, 1/8" (3.3mm)
Copper · 1/8" (3.3mm)
How to Tie the Dread Tag Jig
- 1
Step 1
Slide the copper bead onto the jig hook, seat it behind the eye, and mount the hook in the vise.
- 2
Step 2
Start the orange thread behind the bead and wrap a thread base back to the bend. Trim the tag end.
- 3
Step 3
Pull a length of thread from the bobbin at the bend and fold it back on itself to make a small bundle of orange strands.
- 4
Step 4
Bind the bundle down at the bend so it extends past the hook, then trim it to a short, blunt tag.
The tag comes off the same spool as the head, so the two colors always match.
- 5
Step 5
Wrap over the butts of the tag to leave a smooth base on the shank, and return the thread to the base of the tag.
- 6
Step 6
Tie in the copper wire at the base of the tag.
- 7
Step 7
Tie in one end of a length of Rabbit Dreads at the same point, then bring the thread forward, stopping short of the bead to leave room for the collar.
- 8
Step 8
Wrap the dread forward up the shank to form the body. Tie it off at the thread and trim the excess.
- 9
Step 9
Spiral the copper wire forward through the body in open turns. Tie it off and trim it.
- 10
Step 10
Form a dubbing loop in front of the body. Place the black squirrel hair dubbing in the loop and spin it into a brush.
- 11
Step 11
Wrap the brush forward to the bead, tie it off, and trim the excess. Stroke the fibers back over the body.
- 12
Step 12
Leave a small band of orange thread behind the bead, whip finish, and trim the thread.
- 13
Step 13
Brush the collar and body lightly to free the fibers.
Watch Tying Tutorial
https://www.youtube.com/watch?v=COV__eT723I
Credit: Cheech / Fly Fish Food