 Fly Tying Inventory
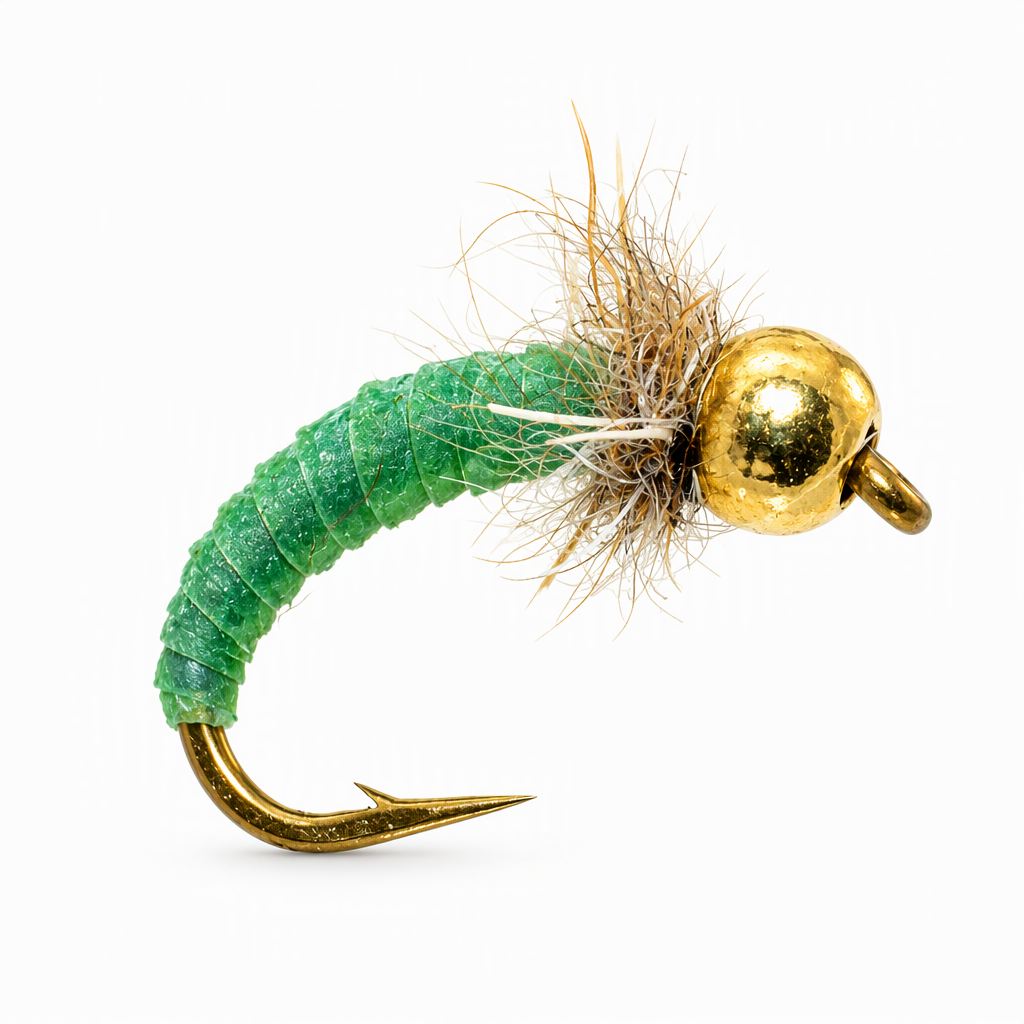
Easy Caddis Pupa
Cheech came up with this caddis pupa in a rushed tying session the night before a trip, when his box was short of subsurface caddis patterns. The first versions were just a tungsten bead, dubbing and a thread body. He then swapped the thread for thin cut latex, which adds strong segmentation and a little realism while keeping the fly simple. A gold bead, a green Kiley's Nymph Skins body and a hare's mask thorax make up the fly. It is a good one for newer tyers. Tied here on a size 16 hook.
Ready to tie this?
This pattern needs 5 materials. Sign up free to check which ones you already own.
Materials
Danville Flat Waxed Nylon Thread, 70 denier, black
Black · 70 denier
Fulling Mill Tungsten Beads, gold, 2.4mm
Gold · 2.4mm
How to Tie the Easy Caddis Pupa
- 1
Step 1
Slide the bead onto the hook, seat it against the eye, and put the hook in the vise.
- 2
Step 2
Start the thread behind the bead and trim the tag.
- 3
Step 3
Wrap a smooth, thin thread base back around the shank and down into the bend.
- 4
Step 4
Pick out a strip of Nymph Skins and cut one end to a taper so it ties in without a lump.
- 5
Step 5
Tie in the tapered end of the latex at the rear of the thread base, then wrap the thread forward to just behind the bead.
- 6
Step 6
Stretch the latex and wrap it forward in overlapping turns toward the bead.
The stretch and the overlap are what build the segmentation, so keep the turns even.
- 7
Step 7
Stop a little short of the bead to leave room for the thorax, tie off the latex and trim it.
- 8
Step 8
Dub the thread lightly with hare's mask dubbing and form a slim noodle.
- 9
Step 9
Wrap the dubbing between the latex and the bead for a buggy thorax.
- 10
Step 10
Whip finish behind the bead and cut the thread.
- 11
Step 11
Pick out the thorax a little so the guard hairs stand out.
Watch Tying Tutorial
https://www.youtube.com/watch?v=eY0DS139-Jw
Credit: Cheech / Fly Fish Food