 Fly Tying Inventory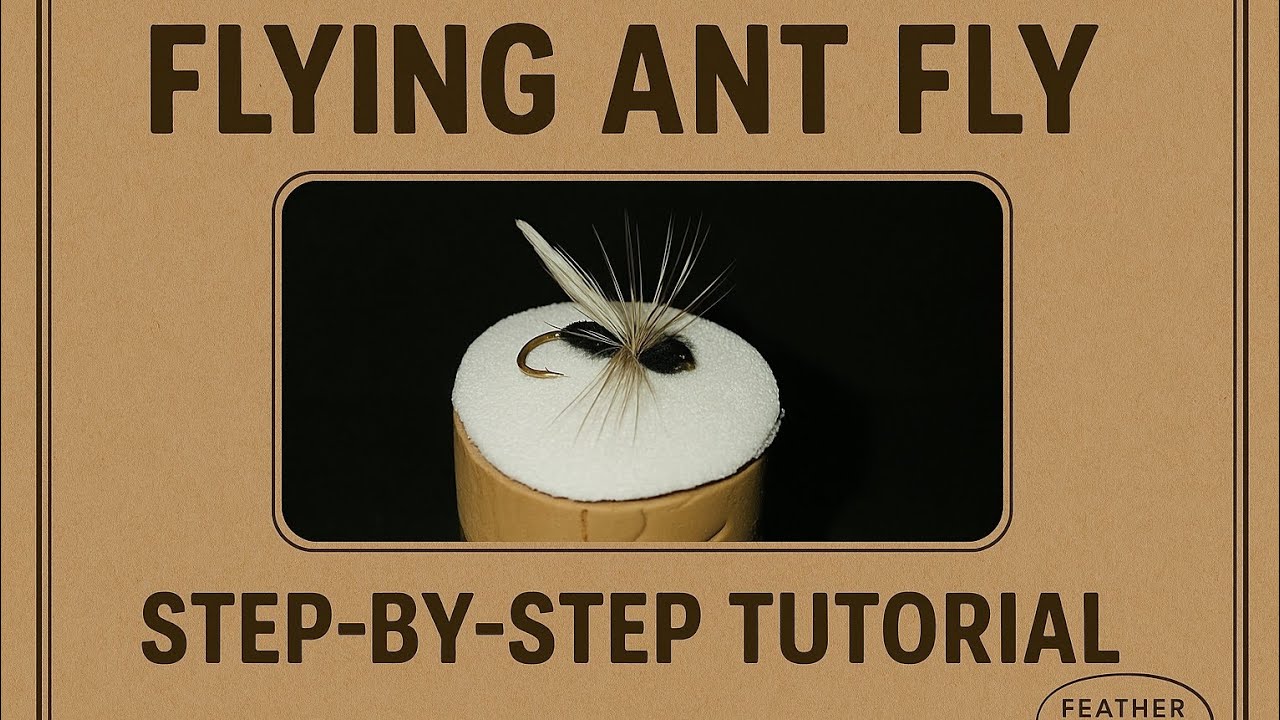
Flying Ant
A foam-bodied winged ant imitation designed for late summer ant falls when winged ants swarm and land on the water in large numbers. The segmented foam body with prominent hackle-tip wings creates the distinctive flying ant profile. Trout key in heavily on these events and may refuse anything but a proper flying ant pattern. Available in black and cinnamon variations.
🪶 Ready to tie this?
This pattern needs 7 materials. Sign up free to check which ones you already own.
Materials
Standard dry fly hook (Tiemco 100 or Daiichi 1160), sizes 10-18
Black or brown 6/0 or 8/0
Black 2mm closed-cell craft foam strip
Black 2mm foam or matching dubbing
White McFlylon, Antron yarn, or grizzly hackle tips
Grizzly or brown dry fly hackle
UV ice dub or similar dubbing (optional accent color)
How to Tie the Flying Ant
- 1
Step 1
Start thread behind the hook eye and wrap back to the bend.
- 2
Step 2
Cut a thin strip of black foam. Tie in at the bend so it extends slightly past for the rear body bump.
- 3
Step 3
Secure the rear foam segment with tight wraps and make a few figure-eight wraps to pinch the foam into a distinct rounded bump.
- 4
Step 4
Select wing material—two grizzly hackle tips, or a small bunch of white McFlylon. Tie in across the middle of the hook so they angle upward on each side.
- 5
Step 5
Pull remaining foam forward over the thorax and secure at about one-third behind the eye. Add a pinch of dubbing in the waist area for extra color if desired.
The two distinct body humps separated by a narrow waist are essential for a realistic ant silhouette.
- 6
Step 6
Tie in a hackle feather at the thorax. Make 2-3 turns to create legs and floatation, then tie off.
- 7
Step 7
Fold remaining foam forward to just behind the eye, tie off, and trim to form a small rounded head.
- 8
Step 8
Whip finish behind the eye and apply head cement.
Watch Tying Tutorial
https://www.youtube.com/watch?v=yY804wD_5WU
Credit: Traditional