 Fly Tying Inventory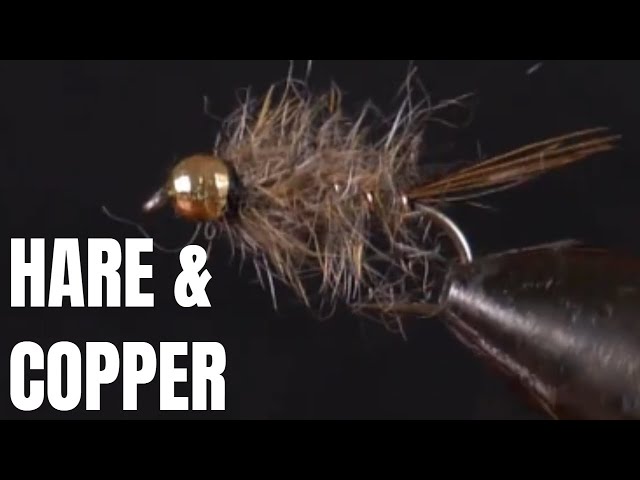
Hare & Copper (NZ Style)
One of New Zealand's most iconic and effective nymph patterns. The Hare & Copper combines spiky hare's mask dubbing with a copper wire rib for a buggy, natural-looking fly. The long guard hairs mimic insect legs while the copper adds segmentation and durability. A superb searching pattern used worldwide.
🪶 Ready to tie this?
This pattern needs 7 materials. Sign up free to check which ones you already own.
Materials
Nymph hook, size 10-18 (e.g., Kamasan B175, TMC 3769)
Copper, gold, or black tungsten/brass bead
Brown or black 6/0 or 8/0
Lead wire wraps on front 2/3 of shank
Pheasant tail fibers or brown hen hackle fibers, 4-8 strands
Hare's mask fur or ear dubbing with plenty of guard hairs
Medium copper wire
How to Tie the Hare & Copper (NZ Style)
- 1
Step 1
Slide a bead onto the hook if using. Wrap lead wire around the front 2/3 of the hook shank for extra weight. Push wraps behind the bead and secure with thread.
- 2
Step 2
Secure the thread behind the bead/lead, covering and locking down the lead wraps, then advance the thread to the bend.
- 3
Step 3
Select 4-8 pheasant tail fibers for the tail. Measure to about half a hook shank in length, tie in at the bend, and bind butts down to taper the underbody.
- 4
Step 4
Tie in a piece of medium copper wire at the base of the tail for ribbing.
- 5
Step 5
Apply dubbing wax to the thread, twist on a slender but shaggy noodle of hare's mask dubbing with plenty of guard hairs, and wrap forward building a slightly tapered, buggy body.
The spikier the better—don't worry about neatness. Guard hairs mimic insect legs.
- 6
Step 6
Spiral the copper wire forward over the dubbing in even, open counter-wraps. Secure behind the bead and break off excess.
- 7
Step 7
Dub a small, scruffy collar of hare's ear fur right behind the bead for the classic spiky appearance.
- 8
Step 8
Whip finish behind the bead and cut thread. Use a dubbing brush or velcro to pick out more guard hairs for extra movement.
A rough, scruffy finish is more effective than a neat one—embrace the mess!
Watch Tying Tutorial
https://www.youtube.com/watch?v=VoaRJ8923cE
Credit: New Zealand fly fishing tradition; Loren Williams; Fishing Mag NZ