 Fly Tying Inventory
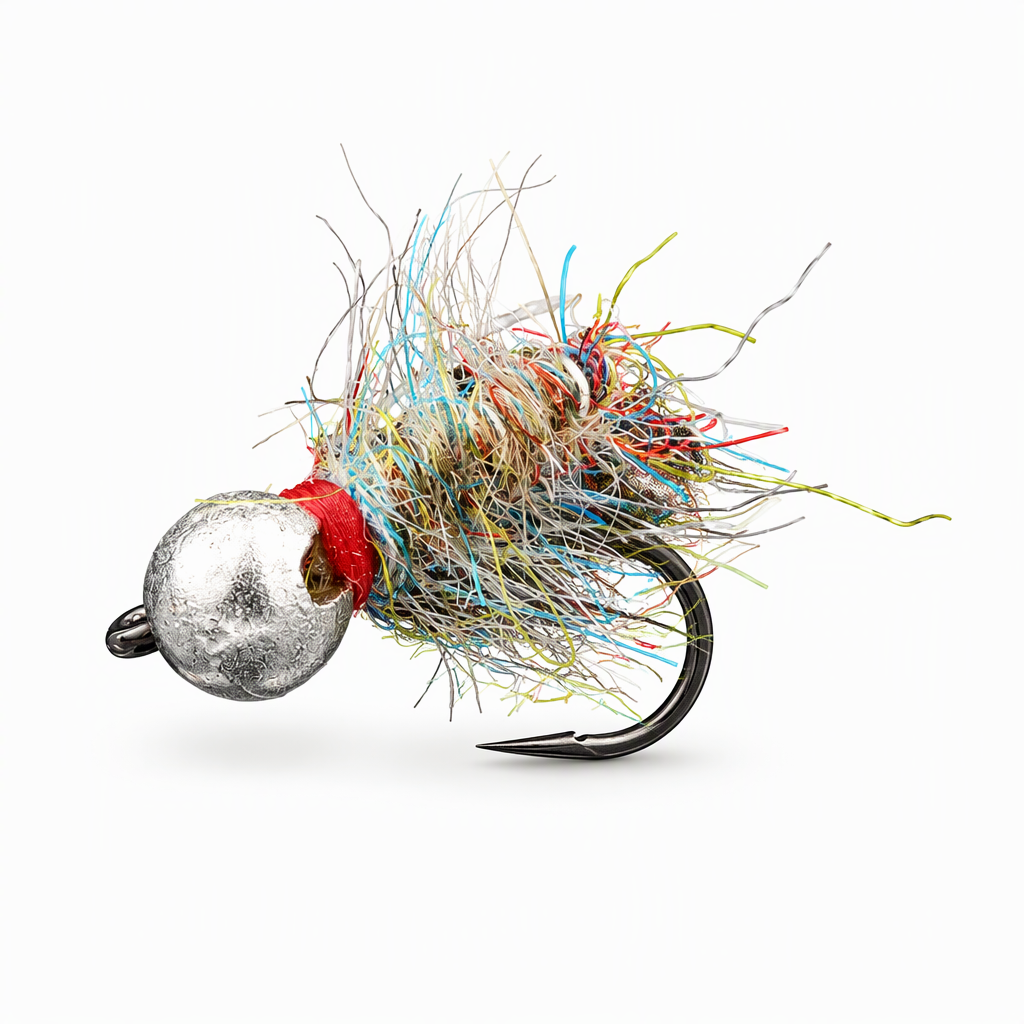
Jig Tailwater Sow Bug
Jig Tailwater Sow Bug is Lance Egan's jig version of his Tailwater Sow Bug, a proven pattern throughout the western US. The fly itself barely changes, but a jig hook and a large tungsten bead suit it to Euro nymphing, and it works well as one fly on a Euro rig. The body is rainbow Sow Scud dubbing over red thread, ribbed with silver wire, and a sepia marker colors the back. Tied here on a size 16 hook.
Ready to tie this?
This pattern needs 6 materials. Sign up free to check which ones you already own.
Materials
Hanak Round+ Slotted Tungsten Beads, silver, 3.0mm (or Fulling Mill Slotted Tungsten Beads, silver, 3.2mm or 2.8mm)
Silver · 3.0mm
UTC Ultra Wire, silver, small
Silver · Small
Wapsi Sow Scud Dubbing, rainbow
Rainbow
Chartpak Fly Tying Marker, sepia (medium brown), for the back
Sepia
How to Tie the Jig Tailwater Sow Bug
- 1
Step 1
Slide the silver bead onto the jig hook and mount the hook in the vise.
- 2
Step 2
Start the red thread behind the bead and wrap a base back along the shank to the bend.
- 3
Step 3
Tie in the silver wire at the bend, leaving the long end trailing off the back of the fly. Bind the wire down along the shank.
- 4
Step 4
Dub a pinch of Sow Scud Dubbing onto the thread.
- 5
Step 5
Wrap the dubbing forward to the bead to form the body, adding more dubbing as needed.
- 6
Step 6
Spiral the wire forward through the dubbing for the rib. Tie it off behind the bead and remove the excess.
- 7
Step 7
Whip finish behind the bead, leaving a narrow band of red thread showing, and cut the thread.
- 8
Step 8
Brush the body with a dubbing brush to pull fibers out along the sides and rear.
- 9
Step 9
Trim the stray fibers on top of the body so the back lies neat.
- 10
Step 10
Run the sepia marker along the trimmed top of the body, on the side opposite the hook point.
Watch Tying Tutorial
https://www.youtube.com/watch?v=p6Kg-y8DR-c
Credit: Lance Egan / Fly Fish Food