 Fly Tying Inventory
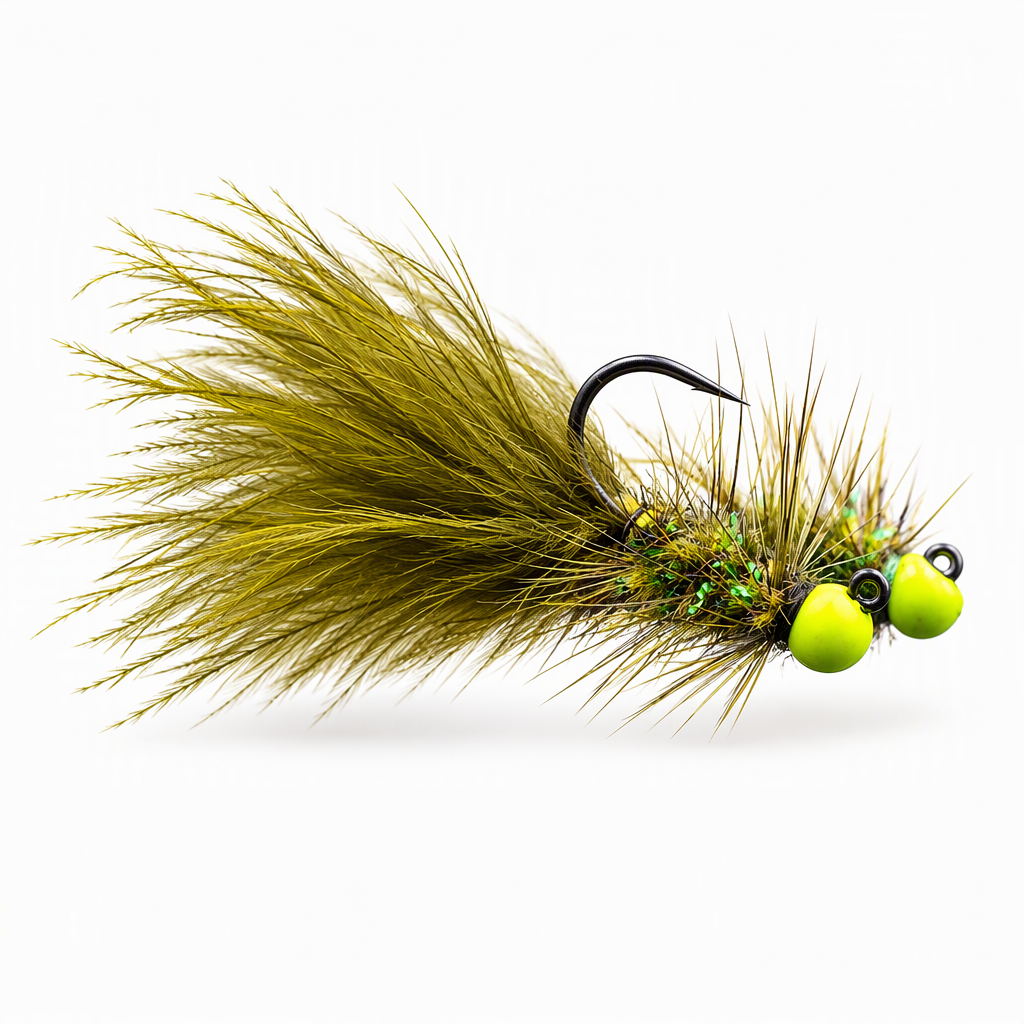
Lemon Lime Bugger
Lemon Lime Bugger is a light olive woolly bugger that Cheech has fished for about 20 years. It started out with a gold bead, and changing to a chartreuse bead made it produce far better. A medium olive marabou tail sits behind a lime and olive speckled chenille body with a grizzly olive hackle. It can be tied jig style or standard style, and Cheech likes it in small sizes such as 10 or 12. Tied here on a size 10 jig hook.
Ready to tie this?
This pattern needs 6 materials. Sign up free to check which ones you already own.
Materials
Firehole Stones Speckled Slotted Tungsten Beads, Lightning Bug, 3.0mm (or Firehole Stones Neon Matte Slotted Tungsten Beads, fl. chartreuse)
Lightning Bug · 3.0mm
Fish Hunter Premium Strung Marabou, medium olive (UV) (or Nature's Spirit Premium Bugger Bou, olive)
Medium olive (UV)
Whiting Bugger Hackle Patch, grizzly dyed olive (or Hareline Bugger Hackle Patch, grizzly olive)
Grizzly dyed olive
How to Tie the Lemon Lime Bugger
- 1
Step 1
Slide the slotted bead onto the jig hook, seat it at the eye, and mount the hook in the vise.
- 2
Step 2
Start the thread behind the bead, trim the tag, and wrap back to the bend.
- 3
Step 3
Pull a bunch of marabou from the stem and measure it against the fly for the tail.
- 4
Step 4
Tie the marabou in at the bend. Bind the butts along the shank and trim any excess.
- 5
Step 5
Tie in the grizzly olive hackle and the speckled chenille at the bend.
- 6
Step 6
Wrap the chenille forward to the bead. Tie it off and trim.
- 7
Step 7
Palmer the hackle forward through the chenille body. Secure it behind the bead and trim.
- 8
Step 8
Whip finish behind the bead and trim the thread.
Watch Tying Tutorial
https://www.youtube.com/watch?v=srCXWR6S-dI
Credit: Cheech / Fly Fish Food