 Fly Tying Inventory
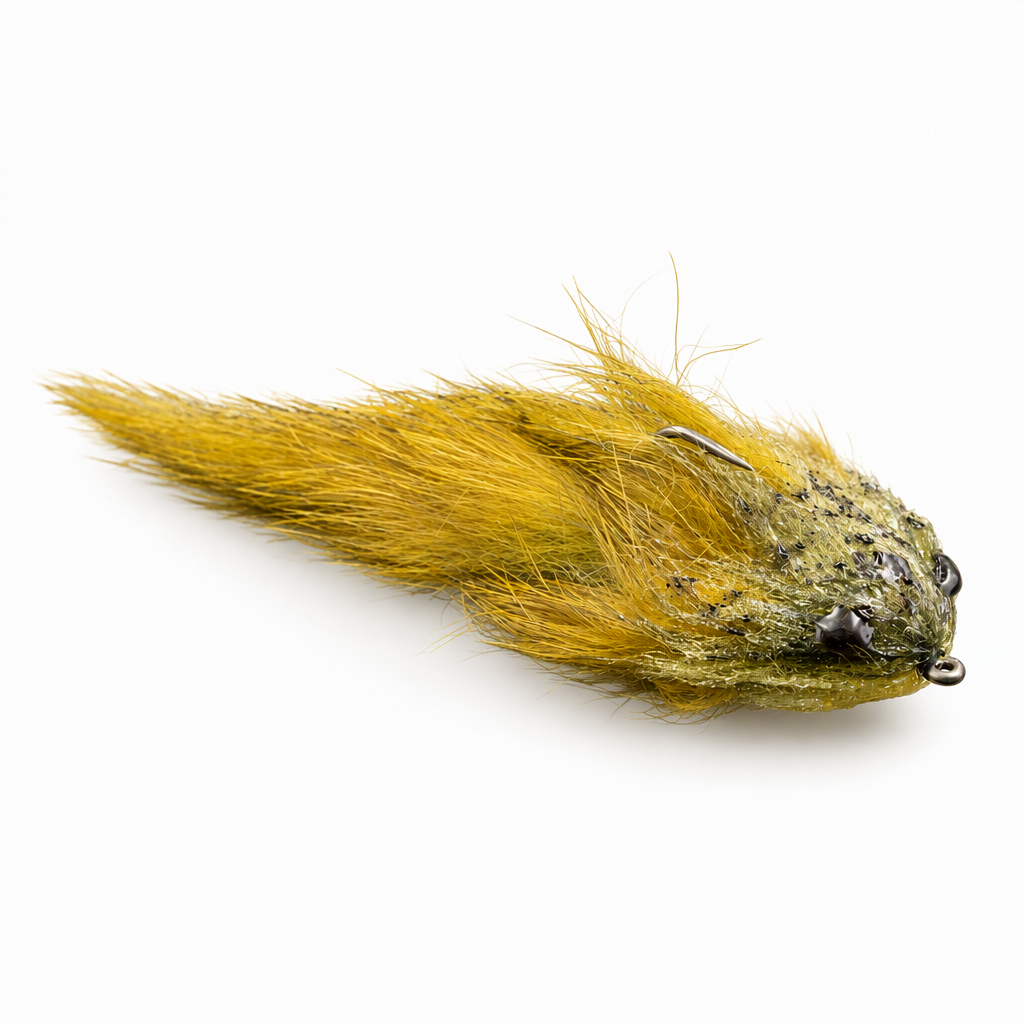
Low Fat Sculpin
Cheech came up with the Low Fat Sculpin as a simpler way to get the swimming action of a Sculpin Toad. Magnum rabbit gives it a long tail and side fins, Flexi Squishenille fills out the body, and a resin-hardened head of Bruiser Blend Junior holds a broad, flat sculpin shape around tungsten dumbbells. The dumbbells turn the hook point up, so the fly can be stripped and crawled near the bottom for trout. It also works in tan, and the idea transfers to other colors and sizes. Tied here on a size 2 hook.
Ready to tie this?
This pattern needs 10 materials. Sign up free to check which ones you already own.
Materials
Danville Flat Waxed Nylon thread, 140 denier, white
White · 140 denier
Magnum Rabbit Strips, olive variant, for the tail and fins
Olive Variant
Solarez UV Cure Resin - Medium Hard 1/2 oz, for the head
Solarez UV Cure Resin - Thick Hard 1/2 oz, for the head
How to Tie the Low Fat Sculpin
- 1
Step 1
Mount the hook and start the thread behind the eye. Tie the tungsten dumbbells on top of the shank just behind the eye with firm crossing wraps.
With the dumbbells on top of the shank, the fly flips and rides point up.
- 2
Step 2
Take the thread to the rear of the shank and tie in the Flexi Squishenille. Wrap it forward over the rear of the shank for the body, tie it off, and trim.
- 3
Step 3
Cut a length of Magnum Rabbit strip and tie it in at the front of the body so the fur trails well past the bend as the tail.
- 4
Step 4
Tie in short sections of the rabbit strip at the sides of the body so the fur flares out as fins. Trim the hide ends and cover them with thread.
- 5
Step 5
Take a bunch of brown olive Bruiser Blend Junior and tie it in by the middle on top of the shank, ahead of the fins, so the fibers point both forward and back.
- 6
Step 6
Turn the hook over and tie in a bunch of pale lemon Bruiser Blend Junior the same way on the belly side.
- 7
Step 7
Add more bunches the same way if the head needs bulk, with olive on top and lemon below, working forward to the dumbbells. Whip finish behind the eye.
- 8
Step 8
Comb the fibers and sweep them all back over the body so the head tapers from the eye.
- 9
Step 9
Pinch the fibers into a broad, flattened head and work Medium Hard resin into them. Hold the shape and cure it.
- 10
Step 10
Build the head up with Thick Hard resin, shaping and curing in small amounts until it is smooth and firm. Keep resin off the rabbit and the trailing fiber ends so they still move.
Small amounts cured in stages are easier to shape than one heavy coat.
- 11
Step 11
Trim any stray fibers that spoil the outline of the head.
- 12
Step 12
Dab black resin onto the dumbbell eyes and add scattered spots over the top of the head for mottling, then cure.
Watch Tying Tutorial
https://www.youtube.com/watch?v=UMxMbPgY90s
Credit: Cheech / Fly Fish Food