 Fly Tying Inventory
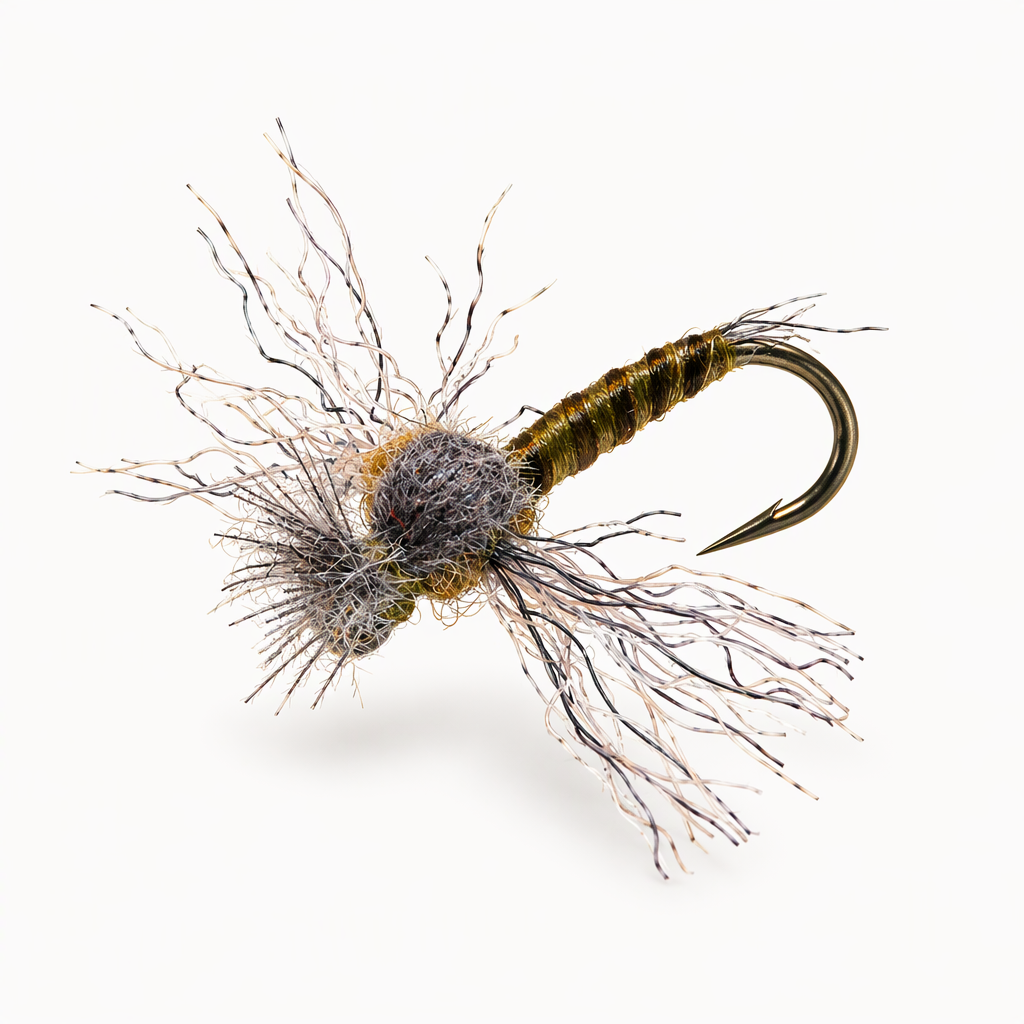
Mil Spec Cripple
The Mil Spec Cripple, also written Mil-Spec Baetis Cripple, is a mayfly cripple tied by Cheech. Its body is flat thread colored with a marker so it looks like a quill or biot, a treatment he named the Mil-Spec body. EP Trigger Point fibers form the tail and wings, and treated with floatant they have a good sheen on the water. A CDC wing case covers a small dubbed thorax. It can be tied in other colors and sizes. Tied here on a size 18 hook.
Ready to tie this?
This pattern needs 7 materials. Sign up free to check which ones you already own.
Materials
Fulling Mill FM5050 Ultimate Dry Fly Barbless hook, size 18
18
Sharpie marker (or Prismacolor marker), dark, for coloring the thread to make the body segments
Super Fine Dry Fly Dubbing, BWO
BWO
How to Tie the Mil Spec Cripple
- 1
Step 1
Start the thread behind the eye and wrap back to the bend, keeping the thread flat so the base stays thin and smooth.
- 2
Step 2
Tie in a small bunch of Trigger Point fibers on top of the shank at the bend, with the fibers trailing behind the hook.
- 3
Step 3
Trim the tail to length and trim the forward ends. Let the fibers splay.
- 4
Step 4
Wrap the flat thread forward and back to cover the tie-in and leave a slim, smooth body. Finish with the thread at the bend.
- 5
Step 5
Color a section of the hanging thread with the marker.
Use a Sharpie or Prismacolor. Chartpak markers carry too much ink and bleed over time.
- 6
Step 6
Spiral the colored thread forward over the body in evenly spaced turns to make the segments, stopping where the thorax begins.
- 7
Step 7
Tie in a CDC feather by its tip on top of the shank at the front of the body, with the rest of the feather lying back over the body.
- 8
Step 8
Tie a bunch of Trigger Point fibers on at the thorax, binding it at its middle. Bring one half back along each side of the shank for the wings.
- 9
Step 9
Dub the thread lightly and build a small thorax around the base of the wings.
- 10
Step 10
Pull the CDC feather forward over the top of the thorax for the wing case and tie it down behind the eye.
- 11
Step 11
Trim the CDC, leaving a short tuft of fibers over the eye. Whip finish and trim the thread.
- 12
Step 12
Trim each wing to length and let the fibers splay out to the sides.
Watch Tying Tutorial
https://www.youtube.com/watch?v=hMbW3KHQuL0
Credit: Cheech / Fly Fish Food