 Fly Tying Inventory
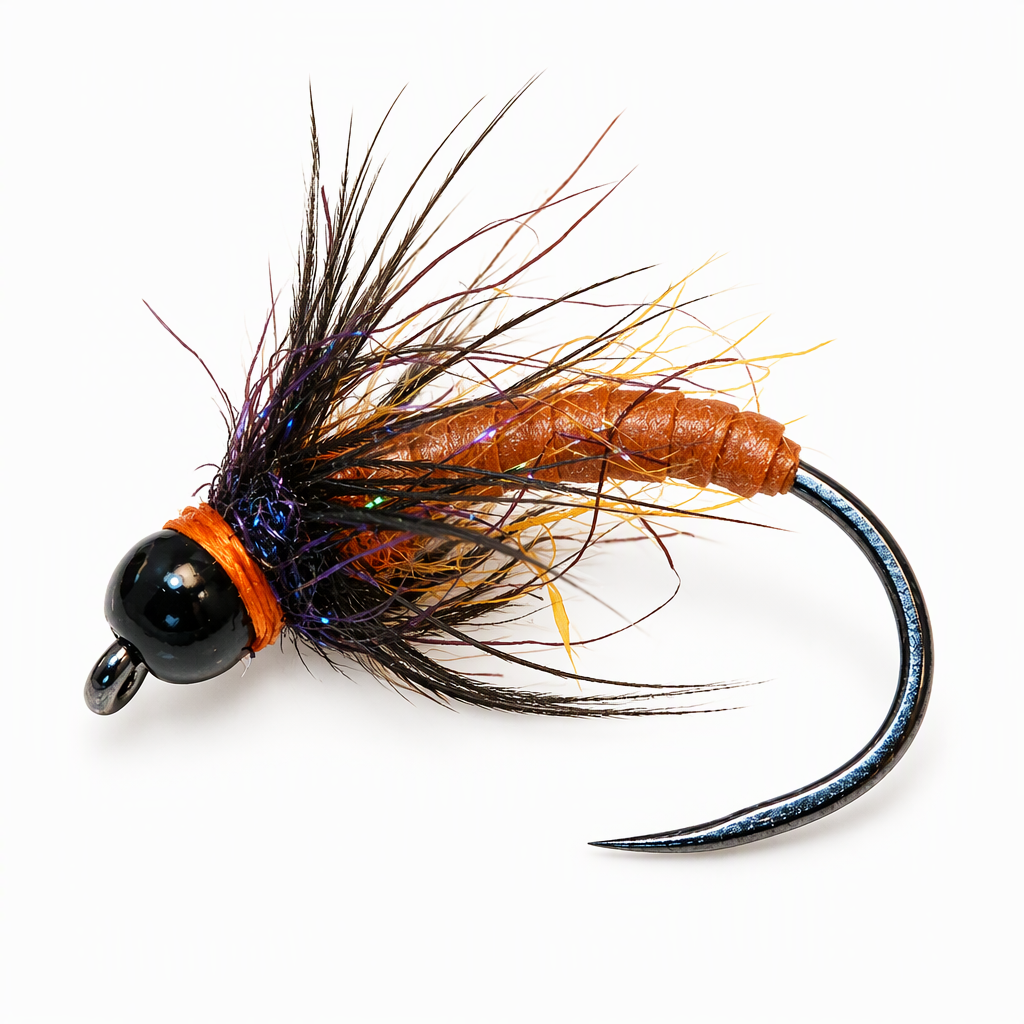
October Caddis Soft Hackle
A quick pupa imitation of the October caddis, Dicosmoecus, tied by Curtis Fry as a subsurface partner for your October caddis dry flies. These are big insects, so this one is tied large, which makes it a comfortable fly to work on. A rust Nymph Skin body makes the segmented abdomen, hot orange and black UV dubbing sit on either side of a black dyed Brahma hen hackle, and a jet black tungsten bead finishes the front. Tied here on a size 10 hook.
Ready to tie this?
This pattern needs 7 materials. Sign up free to check which ones you already own.
Materials
Fulling Mill FM5065 Czech Nymph Barbless hook, size 10
10
Ice Dub, UV hot orange, behind the hackle
UV Hot Orange
Whiting Brahma Hen Cape for soft hackles, badger dyed black
Badger Dyed Black
Ice Dub, UV black, ahead of the hackle
UV Black
How to Tie the October Caddis Soft Hackle
- 1
Step 1
Slide the bead onto the hook and set the hook in the vise. Start the thread behind the bead and wrap back to the start of the bend.
- 2
Step 2
Tie in a strip of Nymph Skin at the rear of the shank and bring the thread forward, stopping short of the bead.
- 3
Step 3
Wrap the Nymph Skin forward in overlapping turns to build a smooth, segmented abdomen. Tie it off and trim the excess.
- 4
Step 4
Dub the thread with the hot orange Ice Dub and wrap it just ahead of the body.
- 5
Step 5
Brush or pick out the orange dubbing so loose fibers trail back along the body.
- 6
Step 6
Select a black Brahma hen feather and tie it in directly ahead of the orange dubbing.
- 7
Step 7
Wrap the feather forward as a collar, stroking the fibers rearward. Tie it off and trim the excess.
- 8
Step 8
Dub the thread with the UV black Ice Dub and wrap it between the hackle and the bead, leaving a small space behind the bead.
- 9
Step 9
Whip-finish in that space to leave a narrow band of thread right behind the bead. Trim the thread.
Watch Tying Tutorial
https://www.youtube.com/watch?v=-x9wpVtwZ3w
Credit: Curtis Fry / Fly Fish Food