 Fly Tying Inventory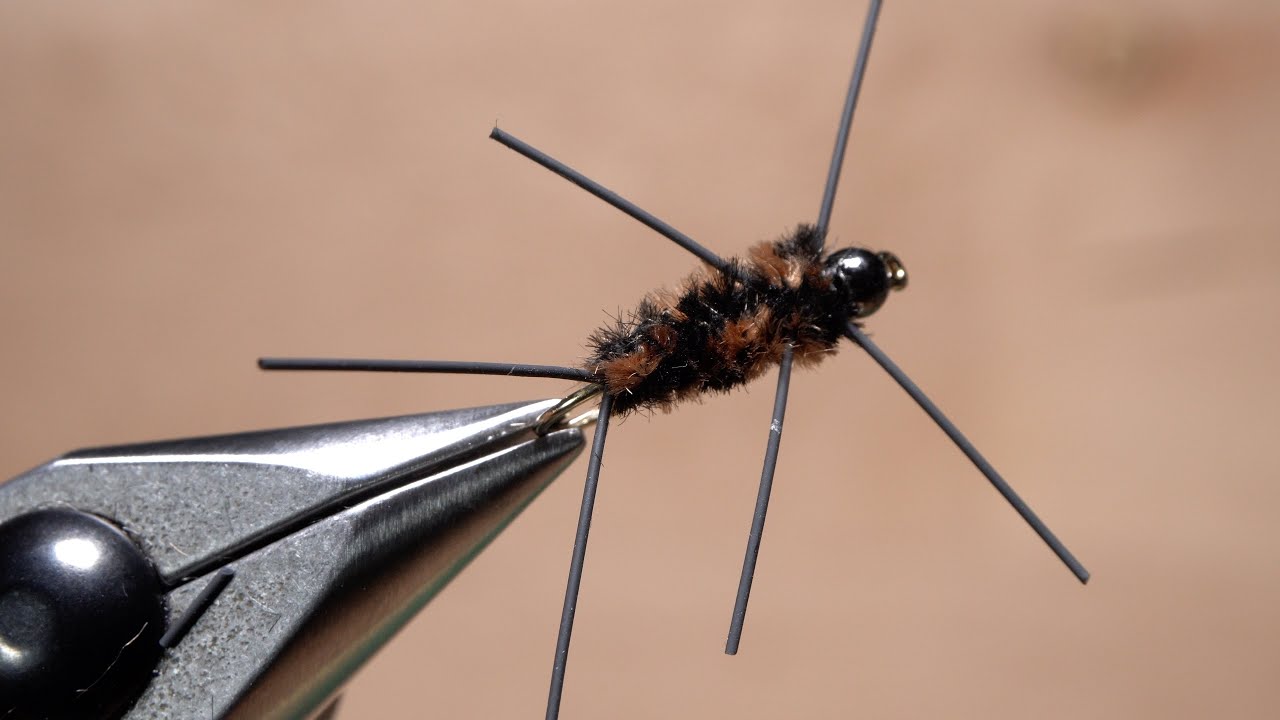
Pat's Rubber Legs - Golden Stone
One of the most productive stonefly nymph patterns in the western US. The tan/brown Golden Stone variant uses variegated chenille and rubber legs for a simple but deadly profile. Excellent as an anchor fly in multi-fly nymph rigs, or as a searching pattern year-round in freestone rivers.
🪶 Ready to tie this?
This pattern needs 7 materials. Sign up free to check which ones you already own.
Materials
3XL nymph hook (TMC 200R or Daiichi 1720), size 4-12
Lead or lead-free wire .020-.025, wrapped along shank
Brown 140 denier or 6/0
Brown Flex-Floss or round rubber legs, one strand per side, splayed
Variegated chenille, medium, coffee/black or brown/tan
Brown Flex-Floss or round rubber legs, 3 pairs tied at tail, mid-body, and thorax
Brown Flex-Floss or round rubber legs, short pair forward
How to Tie the Pat's Rubber Legs - Golden Stone
- 1
Step 1
Secure the hook in the vise. Wrap lead wire along the middle 2/3 of the hook shank for weight. Start the thread behind the hook eye and wrap back over the lead to secure it.
- 2
Step 2
At the bend of the hook, tie in one strand of Flex-Floss for the tail. Lay the strand across the top of the shank, tie it down, and pull each side to splay the tails evenly.
Use figure-eight wraps around the flex-floss to keep the tails splayed at a natural angle.
- 3
Step 3
Tie in a piece of variegated chenille at the base of the tail. Let it hang to the rear.
- 4
Step 4
Wrap the chenille forward approximately 1/3 of the shank. Stop and tie in the second set of rubber legs using the same figure-eight technique. Continue wrapping chenille forward another 1/3.
- 5
Step 5
Tie in the third (front) set of legs at the thorax area using figure-eight wraps.
- 6
Step 6
Continue wrapping chenille forward to just behind the hook eye. Tie off and trim excess chenille.
- 7
Step 7
Optionally tie in a short pair of Flex-Floss forward as antennae.
- 8
Step 8
Build a small, neat thread head. Whip finish and apply head cement. Trim all legs and tails to approximately 1 to 1.5 hook-shank lengths.
Watch Tying Tutorial
https://www.youtube.com/watch?v=QUK-if6brp0
Credit: Pat Dorsey