 Fly Tying Inventory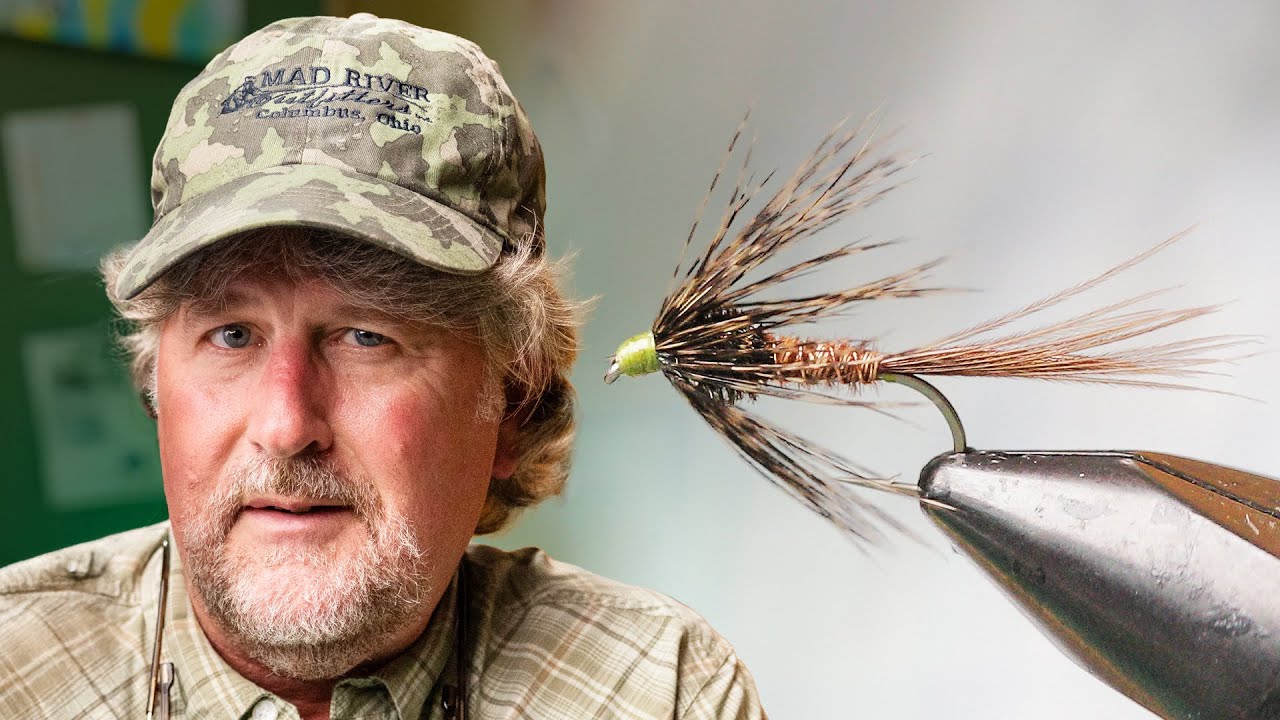
Pheasant Tail Nymph
Frank Sawyer's timeless nymph pattern. Imitates a wide range of mayfly nymphs and is effective in almost any trout water worldwide.
🪶 Ready to tie this?
This pattern needs 9 materials. Sign up free to check which ones you already own.
Materials
Standard nymph hook, size 14-18
Copper or gold tungsten bead, 2.0-2.8mm
Brown or copper 8/0
Pheasant tail fibers, 4-6 fibers
Copper wire, small
Pheasant tail fibers, wrapped
Peacock herl, 2-3 strands
Pheasant tail fibers, folded over
Pheasant tail fiber tips from wing case
How to Tie the Pheasant Tail Nymph
- 1
Step 1
Slide a copper or gold tungsten bead onto the hook and secure in the vise. Start thread behind the bead.
- 2
Step 2
Wrap thread back to the bend. Select 4-6 pheasant tail fibers and tie them in as a tail, about half a shank length.
- 3
Step 3
Tie in a piece of small copper wire at the base of the tail for the rib.
- 4
Step 4
Take 4-6 more pheasant tail fibers and tie them in by the tips at the tail. Wrap them forward to form the body, covering about 2/3 of the shank.
Wrap the pheasant tail fibers tightly and slightly overlap each turn for a smooth, segmented body.
- 5
Step 5
Tie off the pheasant tail body fibers and counter-wrap the copper wire rib forward through the body. Tie off behind the bead.
- 6
Step 6
Select 4-6 pheasant tail fibers and tie them in by the tips over the thorax area, pointing forward over the bead. These will become the wing case.
- 7
Step 7
Tie in 2-3 strands of peacock herl behind the bead and wrap them to form a full thorax.
- 8
Step 8
Pull the pheasant tail wing case fibers back over the thorax and tie them down behind the bead.
- 9
Step 9
Optionally, divide the remaining wing case fiber tips into two bunches for legs, one on each side.
- 10
Step 10
Build a small thread head behind the bead, whip finish, and apply a drop of head cement.
Watch Tying Tutorial
https://www.youtube.com/watch?v=uoLQkLZ50Dg
Credit: Frank Sawyer