 Fly Tying Inventory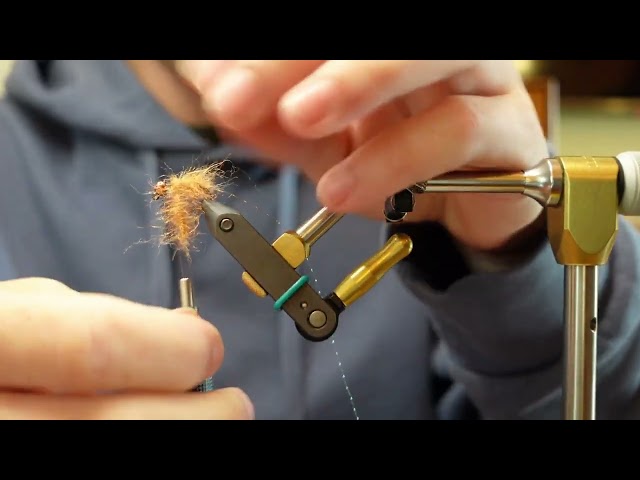
Pupalicious October Caddis
Hayden Williams' take on an October Caddis pupa pattern, designed for the prolific fall caddis hatch on the Yakima River and other Pacific Northwest waters. The Pupalicious captures the fat, orange-bodied profile of the Dicosmoecus caddis pupa as it ascends through the water column. This pattern is deadly when fished as a dropper below an October Caddis dry or dead-drifted through riffles during the fall hatch from September through November.
🪶 Ready to tie this?
This pattern needs 8 materials. Sign up free to check which ones you already own.
Materials
Curved scud/pupa hook (TMC 2457 or equivalent), sizes 6-10
Copper or black tungsten bead, 3.5-4.0mm
Brown or rust 6/0 (140 denier)
Burnt orange or rust dubbing (Hareline Dubbin or SLF)
Copper wire, medium
Dark brown or black dubbing, picked out for legs
Mottled turkey tail or Thin Skin, dark
Brown or amber soft hackle fibers picked from thorax dubbing
How to Tie the Pupalicious October Caddis
- 1
Step 1
Slide tungsten bead onto the curved hook and mount in vise. Start thread behind the bead and wrap to the bend.
The curved hook mimics the natural C-shape of a caddis pupa.
- 2
Step 2
Tie in copper wire at the bend for the rib.
- 3
Step 3
Dub a fat, tapered body of burnt orange dubbing from the bend to the thorax area, about 2/3 of the shank.
October Caddis pupae are chunky — don't be afraid to build a robust body.
- 4
Step 4
Wrap the copper wire forward as a rib in 4-5 evenly spaced turns. Tie off and trim.
- 5
Step 5
Tie in a strip of mottled turkey or Thin Skin for the wingcase.
- 6
Step 6
Dub a dark brown thorax behind the bead, making it slightly larger than the body.
- 7
Step 7
Pull the wingcase material over the thorax and tie off behind the bead. Whip finish. Pick out dubbing fibers from the thorax sides to suggest emerging legs.
Aggressive picking of the thorax dubbing creates the disheveled, emerging look that triggers strikes during the hatch.
Watch Tying Tutorial
https://www.youtube.com/watch?v=CKLEU19D498
Credit: Red's Fly Shop