 Fly Tying Inventory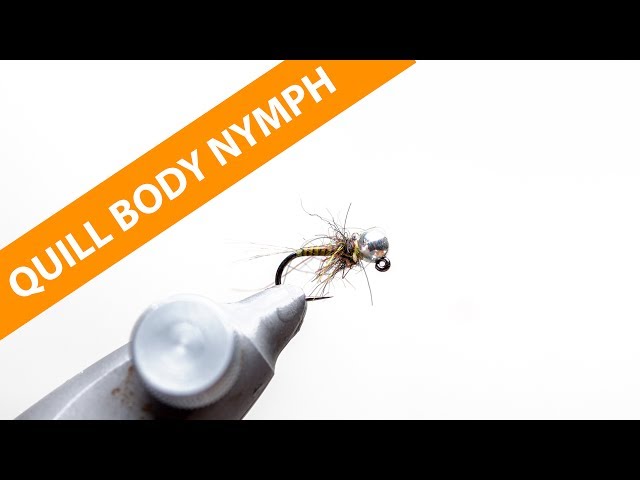
Quill Body Jig Nymph
A sleek Euro nymph featuring a segmented quill body that creates a natural, lifelike appearance. The stripped peacock quill or synthetic quill body protected with UV resin gives excellent segmentation while maintaining the slim profile needed for fast sinking in competition fishing.
🪶 Ready to tie this?
This pattern needs 8 materials. Sign up free to check which ones you already own.
Materials
Jig hook, size 14-18 (e.g., Fulling Mill Jig Force)
Slotted tungsten bead, 2.5-3.5mm
Light brown or tan 8/0 or 70 Denier
Coq de León fibers, 3-6 strands
Stripped peacock quill, Polish Quill, or synthetic quill
Hare's ear dubbing, natural or synthetic, spiky
Fine wire for added durability
UV resin or varnish to protect the quill body
How to Tie the Quill Body Jig Nymph
- 1
Step 1
Slide the slotted tungsten bead onto the jig hook and secure in the vise.
- 2
Step 2
Start tying thread just behind the bead.
- 3
Step 3
Select 3-6 Coq de León fibers, measure to about the hook shank length, and tie them in near the bend. Trim excess.
Keep the tail sparse and aligned for a clean profile.
- 4
Step 4
Prepare a stripped peacock quill or synthetic quill. Soak natural quills to make them supple. Tie in by the thinner end at the base of the tail.
Position the darker edge downward to create natural segmentation when wrapped.
- 5
Step 5
Wind the thread forward to the bead to create a smooth, tapered underbody.
- 6
Step 6
Carefully wrap the quill forward in touching turns, forming a neat, segmented body. Tie off behind the bead and trim excess.
Handle quill gently—it's fragile until coated with resin.
- 7
Step 7
Coat the quill body with a thin layer of UV resin for durability. Cure with UV torch.
- 8
Step 8
Dub a small amount of spiky hare's ear dubbing onto the thread and build a thorax immediately behind the bead.
- 9
Step 9
Whip finish behind the bead. Add a drop of head cement for strength.
Watch Tying Tutorial
https://www.youtube.com/watch?v=-EFW8tTD8vg
Credit: Fulling Mill Blog; MidCurrent Learning Center