 Fly Tying Inventory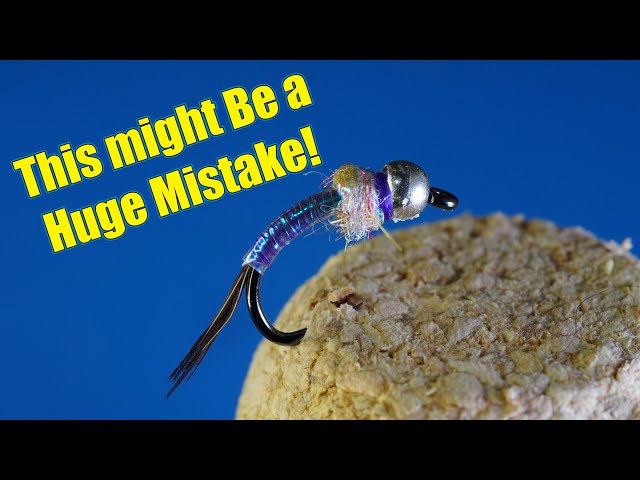
Rainbow Warrior
Lance Egan's signature attractor nymph featuring a flashy pearl tinsel body and red thread hot spot. Despite not imitating any specific insect, trout mistake it for sow bugs, scuds, midge pupae, and chironomids. A proven competition fly and one of the most productive modern nymph patterns for both tailwater and freestone trout.
🪶 Ready to tie this?
This pattern needs 6 materials. Sign up free to check which ones you already own.
Materials
TMC 2457 or Dai-Riki 125 caddis/scud hook, sizes 14-20
Silver tungsten bead, 3/32" (2.3mm) for size 16
UTC 70 Denier, Red
Natural ringneck pheasant center tail fibers, 5-6 strands
Pearl tinsel, large
Wapsi Sow Scud Dubbing, Rainbow
How to Tie the Rainbow Warrior
- 1
Step 1
Slide the silver tungsten bead onto the hook with the smaller hole first and secure the hook in the vise.
- 2
Step 2
Start the red thread behind the bead and wind back to the bend to form a smooth thread base.
- 3
Step 3
Tie in 5-6 pheasant tail fibers as a tail, about half a shank length long. Secure with thread wraps.
Keep the tail sparse for a cleaner profile.
- 4
Step 4
Attach a strip of pearl tinsel behind the bead and wrap thread back over it to the tail tie-in point.
- 5
Step 5
Wrap the pearl tinsel forward in overlapping turns to the bead, creating a smooth, flashy body. Tie off but do not trim the remaining tinsel.
- 6
Step 6
Dub a small, tight thorax with Rainbow Sow Scud dubbing just behind the bead.
Use a thin dubbing noodle for a compact thorax.
- 7
Step 7
Pull the remaining pearl tinsel over the dubbed thorax to form the wingcase. Tie off behind the bead and trim excess.
- 8
Step 8
Add a few extra wraps of red thread as a hot spot collar behind the bead.
- 9
Step 9
Whip finish behind the bead and apply a small drop of head cement or UV resin for durability.
Watch Tying Tutorial
https://www.youtube.com/watch?v=tPT5zYXeKlA
Credit: Lance Egan