 Fly Tying Inventory
Rusty Spinner
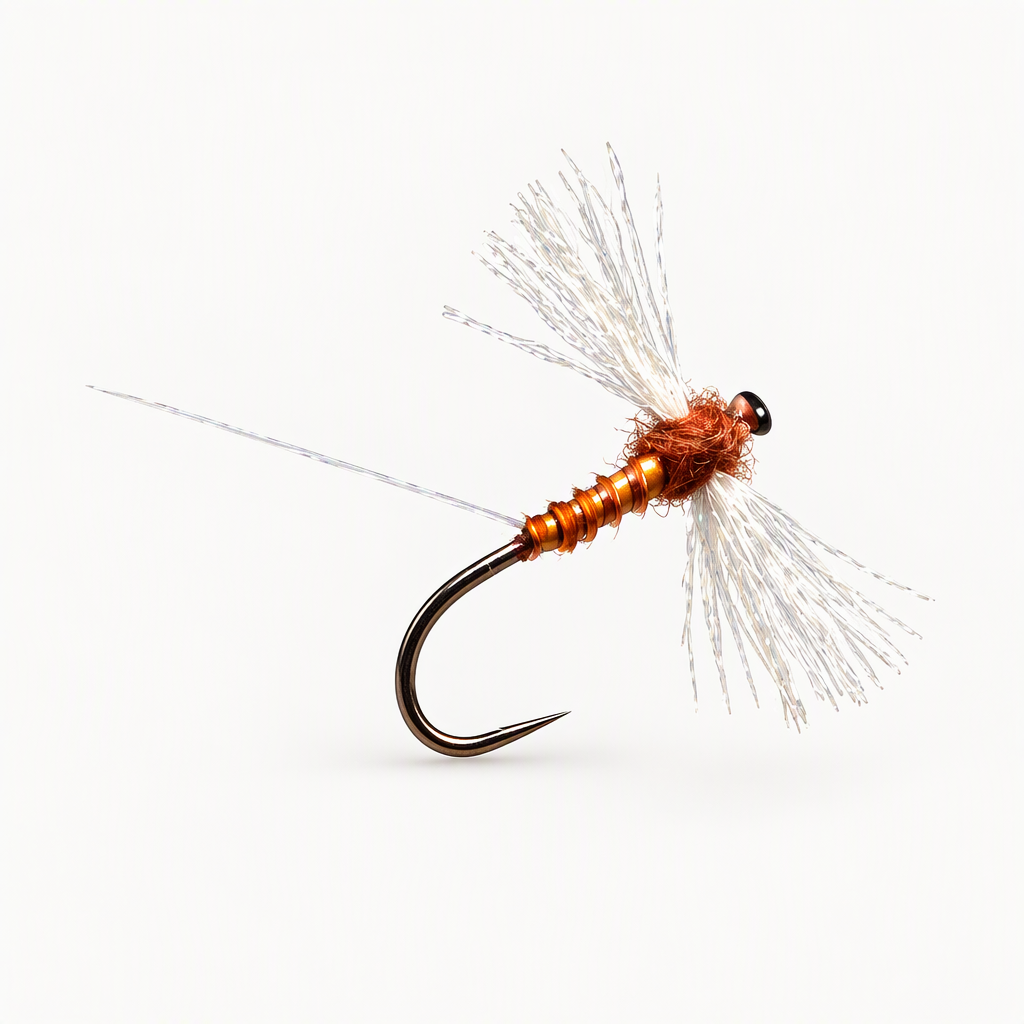
Many mayflies turn a rusty brown as spinners, the egg-laying adults that fall spent on the water with their wings spread flat, so one Rusty Spinner covers a lot of evening spinner falls. This version, from Tim Flagler's Beginner's Masterclass series with Fly Tyer magazine, has split synthetic tails, a segmented turkey biot abdomen, spent white poly yarn wings and a dubbed thorax. It lies flush in the film and is fished dead drift to rising trout in slow water, mostly around dusk and into the first hours of darkness from late spring through summer.
Ready to tie this?
This pattern needs 8 materials. Sign up free to check which ones you already own.
Materials
Fulling Mill FM5050 Ultimate Dry Fly hook (barbless), size 14
14
Spare length of the same rusty brown thread, used to split the tails
Rusty Brown
Mayfly Tails synthetic tailing fibres (Microfibbetts work too), white
White
Turkey biot, rusty spinner
Rusty Spinner
Super Fine dry fly dubbing, rusty brown
Rusty Brown
Head cement (to toughen the biot and the whip finish)
How to Tie the Rusty Spinner
- 1
Step 1
Start the thread behind the eye and wrap a base back to the bend. Tie in a spare length of the same thread on top of the shank so its loose end hangs off the back of the hook. You will use it to split the tails.
- 2
Step 2
Tie a few synthetic tailing fibres on top at the bend so they reach about one and a half shank lengths behind the hook, and trim the butts.
Four to six fibres are plenty on a size 14; spinners have thin, sparse tails.
- 3
Step 3
Pull the spare thread up between the fibres so it divides them into two equal bunches. Then bring it forward along the top of the shank and bind it down, so the tails splay out in a wide V. Trim the excess.
- 4
Step 4
Tie in a rusty turkey biot by its tip at the base of the tails. Leave the thread smooth and slightly tapered up to about two thirds of the shank.
- 5
Step 5
Wrap the biot forward in touching turns to make a thin, segmented abdomen ending about two thirds of the way up the shank. Tie it off and trim the butt. A thin coat of head cement on the abdomen makes it much tougher.
- 6
Step 6
Thin out a short piece of white poly yarn, lay it across the shank just ahead of the abdomen, and lock it in with crisscross wraps so the wings stick straight out to the sides.
- 7
Step 7
Hold both wings up together and trim them to about the length of the hook shank.
- 8
Step 8
Dub a little rusty brown dubbing onto the thread and wind a small thorax around the base of the wings in figure-eight turns, covering the crisscross wraps and making the thorax slightly thicker than the abdomen.
- 9
Step 9
Whip finish behind the eye, cut the thread, and set the wings flat and straight out to the sides.
Watch Tying Tutorial
https://www.youtube.com/watch?v=YKPBOQUwmVo
Credit: Tim Flagler / Tightline Productions