 Fly Tying Inventory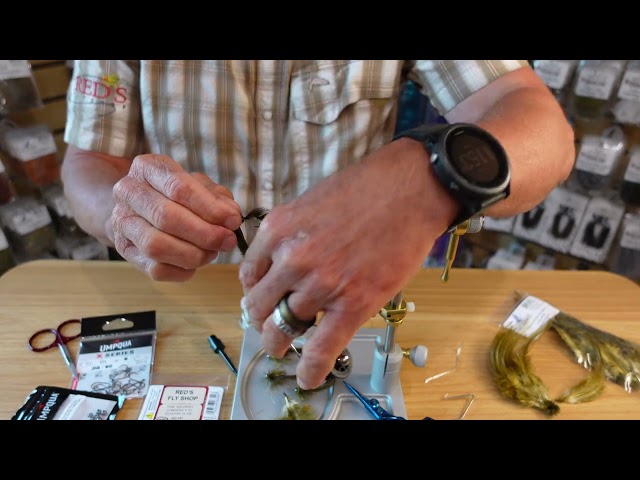
ShapeShifter Sculpin
A versatile sculpin streamer designed by Red's Fly Shop owner Joe Rotter. The ShapeShifter Sculpin uses a combination of materials to create a realistic sculpin profile that changes shape as it moves through the water — hence the name. The broad, flat head pushes water to create vibration, while the body materials undulate naturally. Effective for big trout, smallmouth bass, and any predatory fish that feeds on sculpins and baitfish.
🪶 Ready to tie this?
This pattern needs 8 materials. Sign up free to check which ones you already own.
Materials
Heavy streamer hook or jig hook, sizes 2-8
Sculpin helmet or tungsten cone head, olive or brown
Olive or brown 6/0 (140 denier)
Olive or brown marabou with Flashabou
Olive or brown dubbing brush or chenille
Hen saddle feathers or grizzly soft hackle, trimmed to shape
Olive or copper Flashabou, sparse
Lead-free wire or dumbbell eyes for sink rate
How to Tie the ShapeShifter Sculpin
- 1
Step 1
Mount the hook and slide on the sculpin helmet or cone head. Start thread and secure the head component.
The flat sculpin head is key — it pushes water and creates the vibration that attracts predatory fish.
- 2
Step 2
Tie in a full marabou tail at the bend, about 1.5x shank length, with 4-6 strands of Flashabou on each side.
- 3
Step 3
Build the rear body using a dubbing brush or chenille, wrapping forward in even turns to the mid-shank.
- 4
Step 4
Tie in hen saddle feathers on each side as pectoral fins, angled outward and back. Trim to shape.
The pectoral fins give the fly its distinctive sculpin profile and create additional water displacement.
- 5
Step 5
Continue building the body forward with dubbing or chenille, tapering larger toward the head.
- 6
Step 6
Fill in any gaps around the sculpin head with dubbing, creating a smooth transition from body to head.
- 7
Step 7
Whip finish behind the sculpin head, apply UV resin or head cement. Pick out fibers with a bodkin for a buggy look.
Watch Tying Tutorial
https://www.youtube.com/watch?v=h2hVQd-pgn8
Credit: Red's Fly Shop