 Fly Tying Inventory
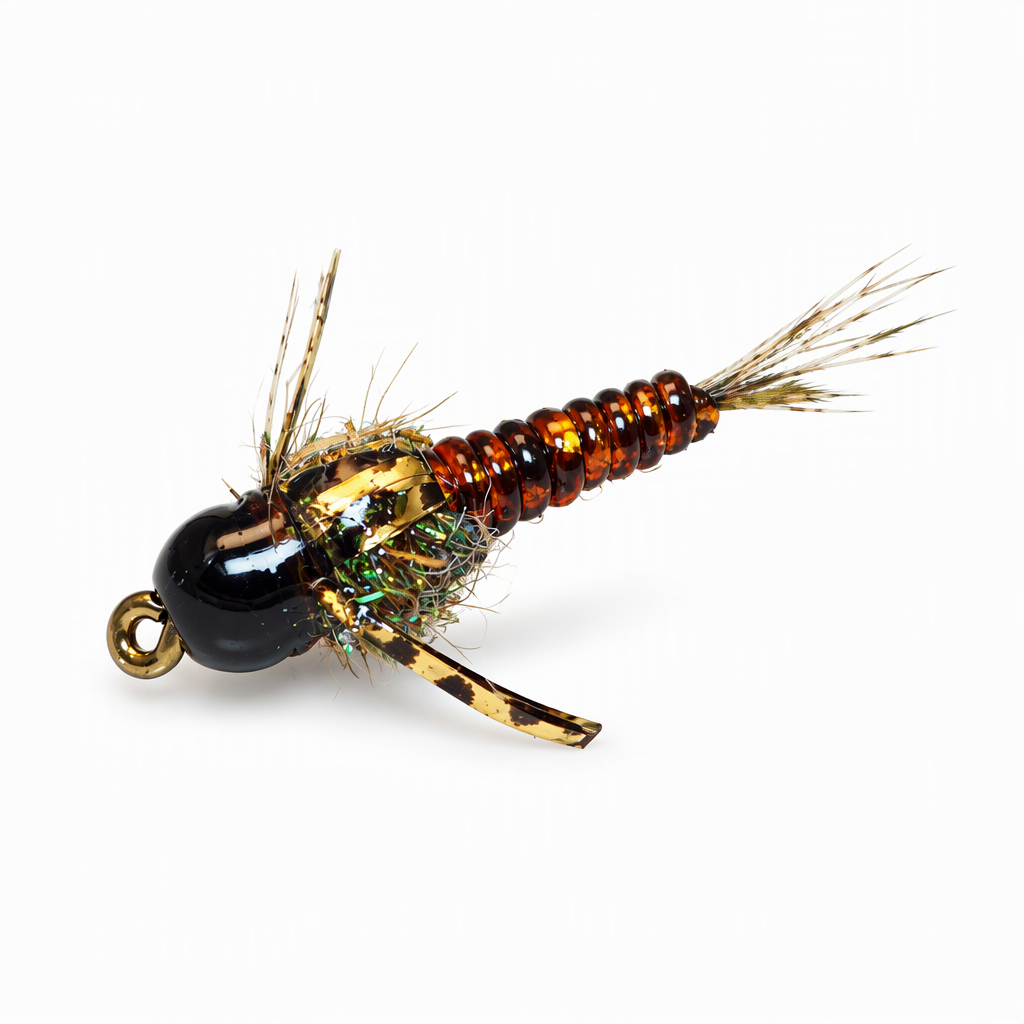
Solar Panel Nymph
Cheech came up with the Solar Panel Nymph while experimenting with a pairing he had not tried before, nymph rib and Speckled Flashabou. The flash sits under the translucent rib and returns as the wing case. It has a somewhat more lifelike look than a Pheasant Tail or Hare's Ear and goes together without much trouble. The style adapts to mayfly, stonefly and caddis larva imitations, and both the rib and the flash can be changed to suit a wide range of colors. Tied here on a size 14 hook.
Ready to tie this?
This pattern needs 9 materials. Sign up free to check which ones you already own.
Materials
Whiting 4 B Hen Saddle, variant (speckled brown) (or Whiting Coq de Leon tailing fibers, badger dyed brown)
Variant (speckled brown)
Hareline Vinyl Rib, small, rust (or Hends Body Glass Round, light brown)
Rust · Small
Glue, a small drop on the underbody
UV resin, to coat the wing case
How to Tie the Solar Panel Nymph
- 1
Step 1
Slide the bead onto the hook, seat it at the eye, and mount the hook in the vise.
- 2
Step 2
Start the thread behind the bead and wrap it back to the bend.
- 3
Step 3
Tie in a small bunch of hen saddle fibers at the bend for a tail. Bind the butts down and trim any excess.
- 4
Step 4
Tie in a small bunch of Speckled Flashabou strands at the tail tie-in point, with the strands pointing back over the hook.
- 5
Step 5
Thin the tip of the rib material with a lighter, then tie it in at the same point with the rest pointing back over the hook.
Working the tip this way keeps the back of the fly slim where the rib ties in.
- 6
Step 6
Wrap the thread forward in smooth turns to form an even underbody, stopping short of the bead to leave room for the thorax. Add a small drop of glue to the underbody.
- 7
Step 7
Twist the flash strands into a thin rope and wrap it forward over the underbody. Tie it off at the front of the body and trim the excess.
- 8
Step 8
Wrap the rib material forward over the flash in touching turns to the front of the body. Tie it off and trim the excess.
- 9
Step 9
Tie in a new bunch of Speckled Flashabou at the front of the body, with the strands pointing back over the hook for the wing case.
- 10
Step 10
Dub the thread with Hare'e Ice Dub and wrap a thorax up to the bead.
- 11
Step 11
Pull the flash forward over the top of the thorax and tie it down right behind the bead.
- 12
Step 12
Fold the ends of the flash back along each side of the thorax to form legs and secure them.
- 13
Step 13
Whip finish behind the bead, trim the thread and trim the legs to length.
- 14
Step 14
Coat the wing case with UV resin and cure it with a UV light.
Watch Tying Tutorial
https://www.youtube.com/watch?v=nLi-wf1NUfs
Credit: Cheech / Fly Fish Food