 Fly Tying Inventory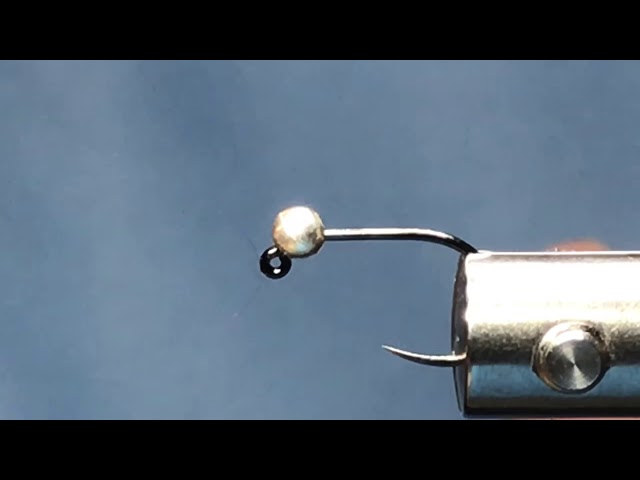
Surveyor (Tungsten)
Lance Egan's Tungsten Surveyor is a proven competition nymph featuring a rainbow sow/scud dubbing body and silver tungsten bead. The shiny, iridescent dubbing provides excellent visibility and attraction while the red thread hot spot behind the bead acts as a strike trigger. A go-to pattern for Euro nymphing and indicator rigs, especially productive in winter and spring.
🪶 Ready to tie this?
This pattern needs 7 materials. Sign up free to check which ones you already own.
Materials
Scud/pupa or jig hook (Hanak H400BL or equivalent), sizes 12-18
Silver tungsten bead, 2.8mm for size 14
Red or fluorescent orange 8/0 (70 denier)
Natural ringneck pheasant center tail fibers, 4-6 strands
Small silver wire or 5X clear mono
Wapsi Rainbow Sow Scud dubbing
Pearl tinsel or Accent Flash strip
How to Tie the Surveyor (Tungsten)
- 1
Step 1
Slide the silver tungsten bead onto the hook and mount in the vise. Optionally add a few turns of lead wire behind the bead for extra weight.
- 2
Step 2
Start red thread behind the bead and lay a base back toward the hook bend.
- 3
Step 3
Tie in 4-6 pheasant tail fibers at the bend as a sparse tail, about one hook gap in length.
- 4
Step 4
Attach a length of fine silver wire or monofilament at the base of the tail for ribbing.
- 5
Step 5
Dub a tapered body of Rainbow Sow Scud dubbing up toward the bead, leaving space for a hot spot collar.
- 6
Step 6
Optionally tie in a strip of pearl tinsel and pull it over the top of the dubbed body as a flash back before securing behind the bead.
- 7
Step 7
Wrap the ribbing forward in open turns for segmentation and durability. Secure at the bead and trim.
- 8
Step 8
Build a visible thread collar of red or orange behind the bead as the hot spot.
The bright hot spot is a key trigger—make it prominent.
- 9
Step 9
Whip finish behind the bead and add a drop of head cement.
Watch Tying Tutorial
https://www.youtube.com/watch?v=9mDaaSPIYeM
Credit: Lance Egan