 Fly Tying Inventory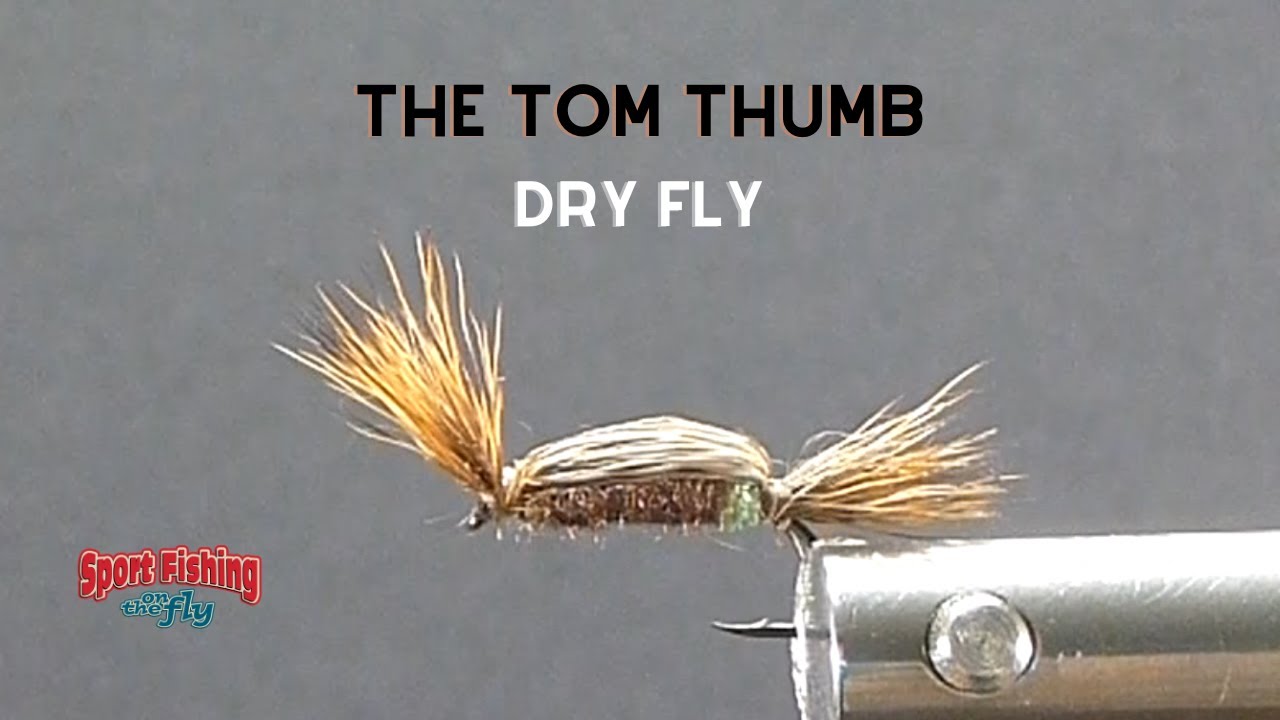
Tom Thumb
The Tom Thumb is a classic PNW dry fly renowned for its exceptional buoyancy and versatility. Constructed primarily of deer hair and peacock herl, it rides high in fast or broken water, imitating caddisflies, mayflies, and other adult insects. A staple of British Columbia lake and river fishing, it draws explosive surface strikes in pocket water, riffles, and during sedge hatches on stillwaters.
🪶 Ready to tie this?
This pattern needs 5 materials. Sign up free to check which ones you already own.
Materials
Standard dry fly hook, sizes 8-14 (Mustad R50 or equivalent)
Black 8/0 or Dyneema
Stacked deer hair, tips aligned, about shank length
Peacock herl, 2-3 strands
Deer hair, larger bunch for both shellback and upright wing
How to Tie the Tom Thumb
- 1
Step 1
Secure the hook in the vise. Start thread at the eye and cover the shank back to the bend.
- 2
Step 2
Select a small stack of deer hair and align the tips in a stacker. Measure so the tail extends just beyond the hook bend. Secure with loose wraps that tighten gradually. Trim butt ends at an angle.
Use good quality hollow deer hair for maximum buoyancy. Nature's Spirit Humpy deer hair works particularly well.
- 3
Step 3
Tie in 2-3 strands of peacock herl at the base of the tail. Wrap forward to about two-thirds of the hook shank to form the body. Secure and trim.
- 4
Step 4
Prepare a second, larger bunch of deer hair. Tie in by the butt at the front of the peacock herl body, allowing tips to extend rearward over the body as a shellback.
- 5
Step 5
Pull the butt ends of the deer hair forward over the hook eye. Tie them down at the head position—these become the upright wing.
- 6
Step 6
Stand the wing portion upright by wrapping thread at the base to prop it up. Hold the tips in place while making several supporting wraps.
- 7
Step 7
Whip finish in front of the wing, forming a neat head. Apply head cement if desired. Flare or comb the wing slightly for a buggier silhouette.
Watch Tying Tutorial
https://www.youtube.com/watch?v=rzVyhjH1HG4
Credit: Traditional PNW / British Columbia