 Fly Tying Inventory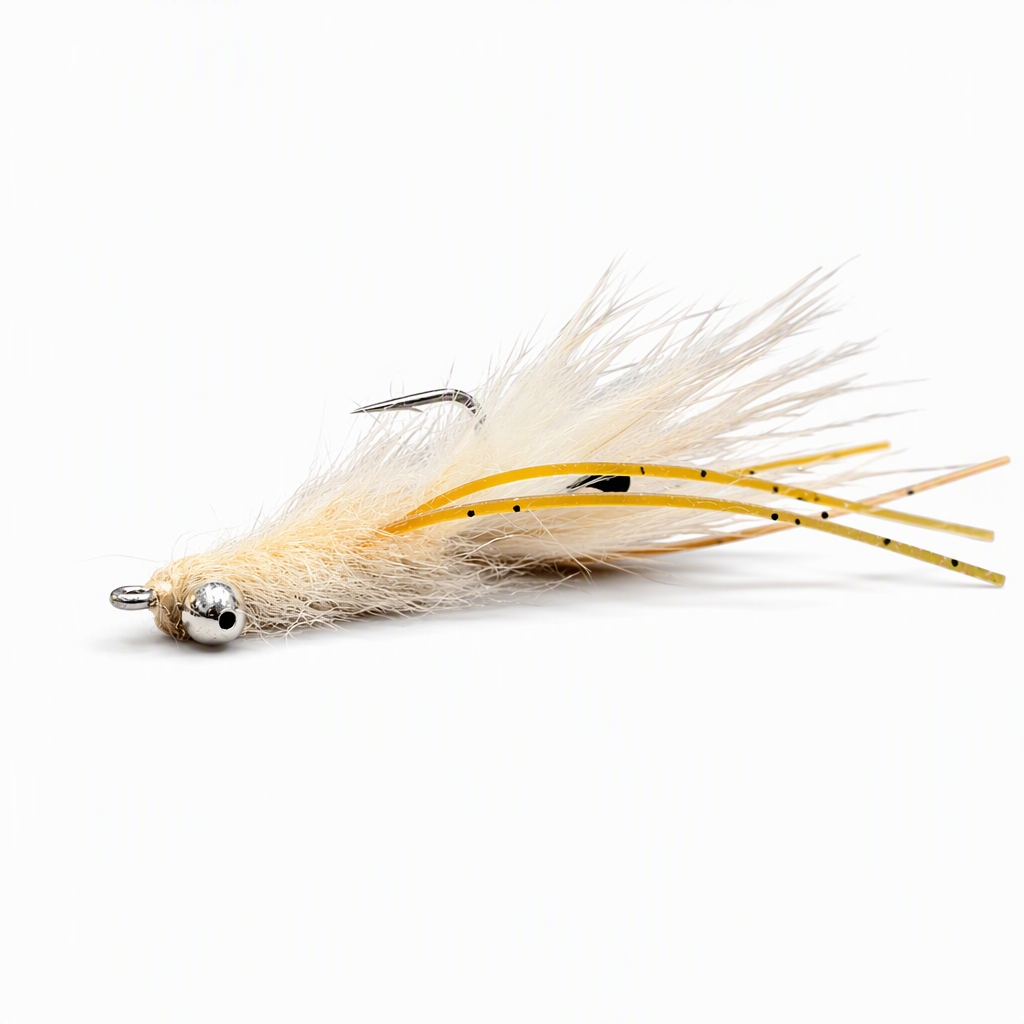
Veverka's Mantis Shrimp
Bob Veverka's mantis shrimp imitation: a tan craft fur tail with mono eyes and a rabbit fur mouth, a shaggy dubbed body, and silicone legs tied in pairs spaced along the shank so each set kicks on its own. Bead chain eyes flip it point-up so it can be twitched and crawled across sand and grass flats in front of tailing fish. A favourite bonefish fly that also fools wary winter redfish.
🪶 Ready to tie this?
This pattern needs 8 materials. Sign up free to check which ones you already own.
Materials
Mustad S71S (34007) or Tiemco 811S saltwater hook, size 2-6
2-6
Painted mono shrimp eyes, one pair
Tan rabbit fur, a small tuft for the mouth
Tan
Tan craft fur dubbing, blended from craft fur underfur
Tan
Silver bead chain eyes, medium
Silver · Medium
How to Tie the Veverka's Mantis Shrimp
- 1
Step 1
Start the tan thread behind the hook eye and tie the bead chain eyes on top of the shank, a little back from the eye, with figure-eight wraps.
- 2
Step 2
Run the thread to the bend and tie in a clump of tan craft fur so it reaches about a shank length past the bend.
- 3
Step 3
Tie a painted mono eye on each side of the craft fur at the bend, angled slightly outward.
- 4
Step 4
Add a small tuft of tan rabbit fur at the same spot to suggest the mouthparts.
- 5
Step 5
Make the dubbing: pull the soft underfur from a clump of craft fur and blend it loosely between your fingers.
Craft fur underfur is normally thrown away; here it makes a shaggy body that comes alive underwater.
- 6
Step 6
Tie a pumpkin Sili Leg on each side of the shank, then dub a short band over the tie-in.
- 7
Step 7
Repeat with one or two more pairs of legs, each separated by dubbing, so the sets sit apart along the shank and move independently.
- 8
Step 8
Dub a full body forward, crisscross the dubbing around the bead chain eyes, and finish the thread in front of them.
- 9
Step 9
Whip finish, add a drop of cement, and brush out the body to make it shaggy.
Watch Tying Tutorial
https://www.youtube.com/watch?v=_FH7UVIdAJU
Credit: Dressed Irons