 Fly Tying Inventory
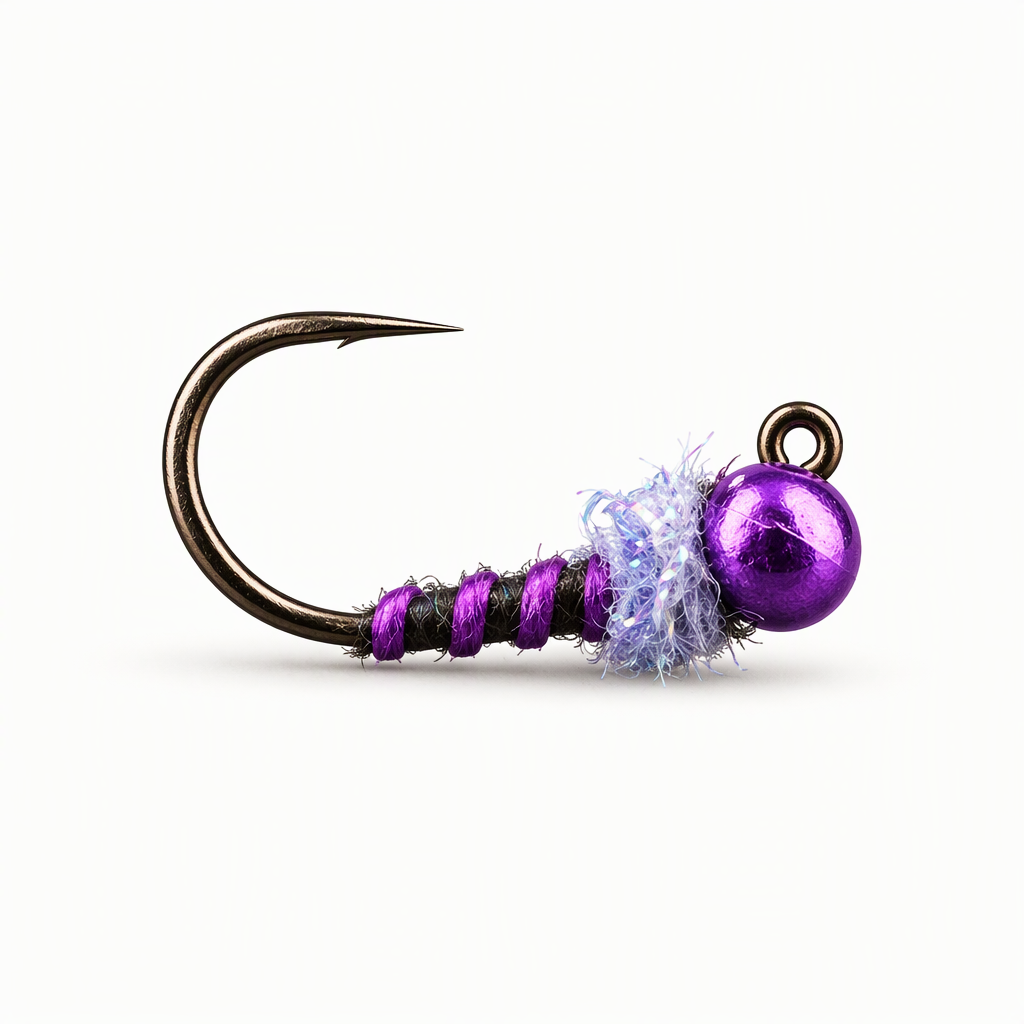
Zola Bug
Zola Bug is a dropper in the frenchie style with plenty of Euro influence, tied here by AJ Jorgensen. It was designed for stained and off-color water and for runoff. The black and purple combination works as an attractor, and it also does well on stillwater for indicator fishing in deeper water where less light gets through. The segmented body comes from purple Flex-Floss over black thread, with a UV Lavender Ice Dub hot spot behind the bead. Plenty of other color variations are open. Tied here on a size 14 hook.
Ready to tie this?
This pattern needs 6 materials. Sign up free to check which ones you already own.
Materials
Fulling Mill 5045 Jig Force Barbless hook, size 14
14
Semperfli Nano Silk Ultra Fine 100D 6/0, black
Black · 100 denier (6/0)
Hareline Slotted Tungsten Beads - Metallic Colors, metallic purple, 7/64 inch (2.8mm)
Metallic Purple · 2.8mm
Fulling Mill Flex-Floss, purple, wrapped over the thread for the segmented body
Purple
Ice Dub, UV Lavender, for the hot spot
UV Lavender
How to Tie the Zola Bug
- 1
Step 1
Slide the purple bead onto the jig hook and mount the hook in the vise.
- 2
Step 2
Start the black thread behind the bead, trim the tag, and wrap back to the bend.
- 3
Step 3
Tie in a small bunch of black Coq De Leon fibers at the bend for the tail. Bind them down and trim the butts.
- 4
Step 4
Tie in the purple Flex-Floss at the base of the tail with the long end trailing off the back of the hook.
- 5
Step 5
Wrap the thread forward in a smooth layer to the bead.
- 6
Step 6
Wrap the Flex-Floss forward in even, slightly spaced turns to the bead, so black thread shows between the purple segments. Tie it off and trim the excess.
- 7
Step 7
Dub a small pinch of UV Lavender Ice Dub onto the thread.
- 8
Step 8
Wrap the dubbing directly behind the bead to form a short hot spot collar.
- 9
Step 9
Whip finish behind the bead and cut the thread.
Watch Tying Tutorial
https://www.youtube.com/watch?v=6xS_O5Q-2UU
Credit: AJ Jorgensen / Fly Fish Food